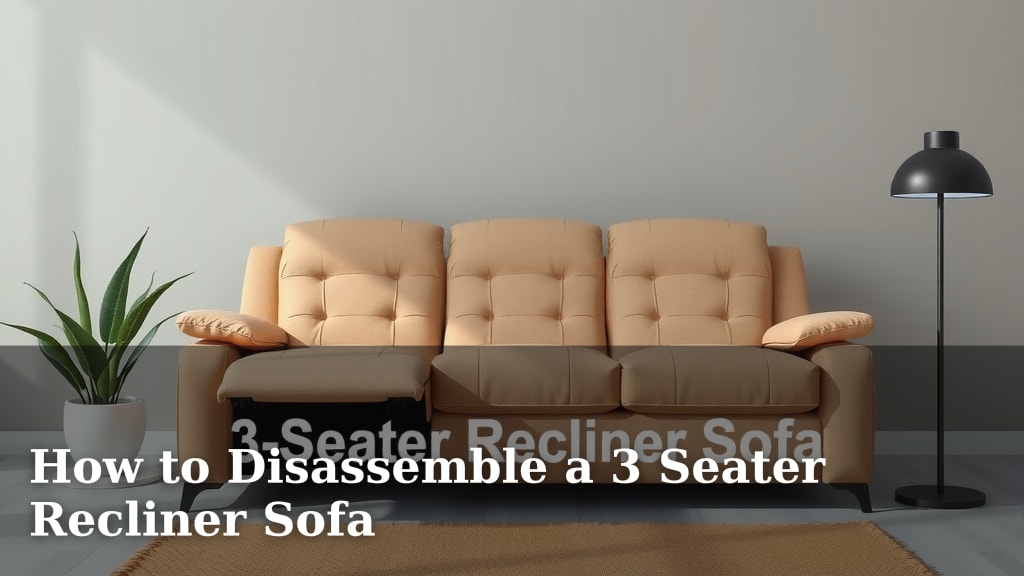
How to Disassemble a 3 Seater Recliner Sofa
Yes, you can disassemble a 3 seater recliner sofa, and it’s often necessary for moving or repairs. The process generally involves removing the back cushions, then detaching the reclining mechanisms and individual seat sections. While it may seem daunting, breaking it down makes it manageable.
When moving day looms, or if a part of your beloved recliner needs attention, knowing how to take it apart is key. Many homeowners are surprised to learn how feasible it is to disassemble larger furniture like a 3 seater recliner. We found that understanding the basic structure helps tremendously.
- Remove back cushions first.
- Look for levers or clips to detach seat sections.
- Unscrew or unbolt reclining mechanisms.
- Keep all hardware organized.
- Consider labeling parts for easier reassembly.
Let’s walk through exactly how this works step by step, so you can tackle your recliner disassembly with confidence.
“`htmlTaking Apart Your 3-Seater Recliner Sofa
Disassembling a large piece of furniture like a 3-seater recliner might seem like a tough job. You’re probably wondering if it’s even possible. The good news is, yes, it absolutely is! Many of these sofas are designed with sections that can be separated for easier moving or repair. We found that understanding the basic structure helps tremendously.
If you’re facing a move or need to fix a section, taking your recliner apart is a common and manageable task. It just takes a little patience and the right approach. Think of it like building with LEGOs, but in reverse. Let’s break down how you can tackle this without too much hassle.
Step 1: Clear the Area and Gather Your Tools
Before you start pulling anything apart, make sure you have plenty of space to work. You’ll need room to lay out the pieces and move around the sofa. Clear the area of any obstructions. This makes the whole process smoother and safer.
You’ll want a few basic tools handy. We recommend having a Phillips head screwdriver and a flathead screwdriver. Sometimes, a small socket wrench set can be very useful too. If you have a cordless drill with the right bits, it can speed things up, but be careful not to overtighten anything. Always check your sofa’s manual if you still have it; it can offer specific tips.
Step 2: Removing the Back Cushions and Bases
This is usually the easiest part. Start by removing all the back cushions. These are typically just loose and can be lifted right off. Set them aside somewhere safe where they won’t get dirty or lost.
Next, look at the base of the sofa. Some recliners have a fabric skirt or a loose bottom cover that might need to be removed. You might find Velcro or a few screws holding this in place. Gently pull it away or unscrew it. This exposes the inner workings and connection points.
Step 3: Detaching the Sofa Sections
Most 3-seater recliners are made of individual seat sections that connect together. You’ll need to find these connection points to separate the sofa. Often, these are located underneath the sofa, where the seat sections meet.
Locating the Connectors
Get down on your hands and knees and look along the bottom edge where two seat sections join. You’re looking for metal brackets or levers. We found that these are the key to separating the sofa.
Releasing the Brackets or Levers
There are usually two types of connectors. One type involves metal brackets that slide into each other. You’ll typically need to lift a lever or slide a locking mechanism. Gently pull upwards on the front of the seat section you want to detach. It should lift away from the base.
Another common type uses a clip or a hook system. You might see a small lever you need to push down or pull. Once released, the two sections should separate. If you encounter resistance, double-check that you’ve released all the locking points. Don’t force it; you could damage the frame.
Step 4: Disconnecting the Reclining Mechanisms
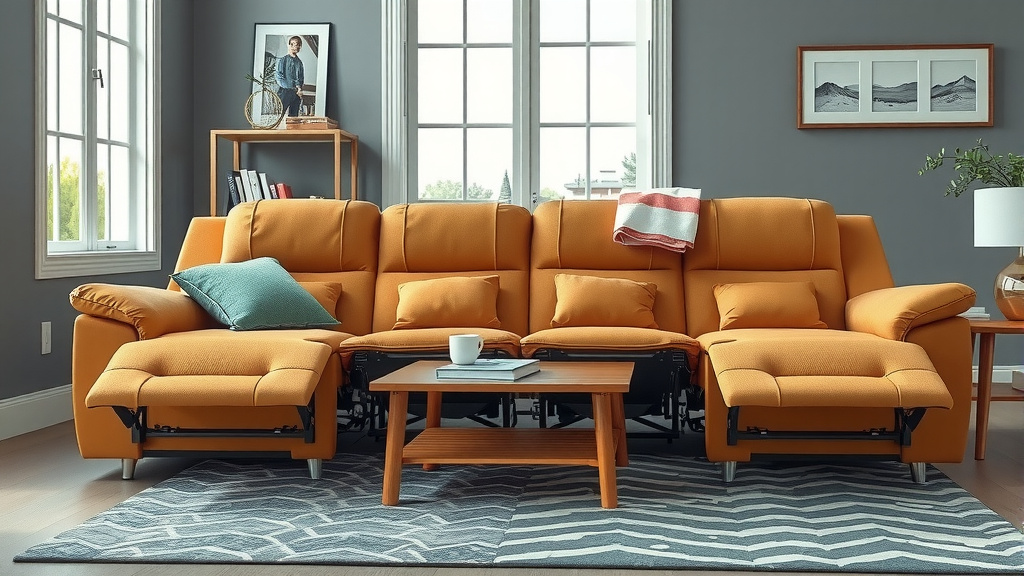
This is where things can get a little more involved, but it’s still manageable. Each reclining seat has a mechanism underneath that allows it to move. These mechanisms are usually attached to the frame and also connect to the footrest.
Accessing the Mechanisms
You’ll likely need to access these from underneath the sofa. If you haven’t already removed a bottom cover, now is the time. Look for bolts or screws that hold the metal reclining mechanism to the sofa frame. Make sure you have a way to catch these as they come loose.
Unscrewing the Mechanisms
Most mechanisms are secured with several bolts. Use your socket wrench or screwdriver to carefully unscrew them. Keep the hardware organized. We recommend using a small container or a plastic bag for each set of bolts.
Once the bolts are out, the mechanism might still be attached to the footrest. There’s usually a lever or a roller that connects the footrest to the armrest mechanism. You might need to gently pull or wiggle these parts to separate them. Some designs have a small pin or clip that holds them together.
Remember that not all recliners are the same. Some might have different types of connections. If you’re struggling, look for guides specific to your sofa’s brand. We found that brand-specific videos on sites like YouTube can be incredibly helpful when you’re stuck.
Step 5: Organizing and Labeling Your Parts
As you disassemble, it’s crucial to keep track of all the screws, bolts, and small parts. Use resealable plastic bags or small containers to hold each type of hardware. Label each bag clearly with what it belongs to (e.g., “Left Armrest Bolts,” “Center Section Brackets”).
If you’re planning to reassemble the sofa soon, consider labeling the actual parts of the sofa as well. Use painter’s tape and a marker to label sections like “Left Seat,” “Right Seat,” “Center Back.” This simple step will save you a lot of confusion later on when it’s time to put it all back together.
Checklist for Disassembly Success
- Gather your tools: screwdrivers, wrench, container for hardware.
- Remove all back cushions and any bottom fabric skirt.
- Locate and release the connectors between seat sections.
- Carefully unscrew reclining mechanisms from the frame.
- Separate footrest mechanisms from the armrest components.
- Keep all hardware organized and labeled in separate bags.
Conclusion
You’ve learned that taking apart your 3-seater recliner sofa is a doable project. By clearing your space, gathering the right tools, and working methodically, you can successfully detach the back cushions, separate the seat sections, and disconnect the reclining mechanisms. Remember to keep all hardware organized and label your parts to make reassembly much easier. With a little patience and our step-by-step guide, you can manage this task confidently for your next move or repair.
Frequently Asked Questions
Will disassembling my recliner damage it?
Disassembling your recliner generally won’t cause damage if you proceed carefully. Always look for the designated connection points and release mechanisms. Avoid forcing parts, as this is the most common way damage can occur. If you’re unsure, consult your sofa’s manual or a brand-specific guide.
What if I can’t find the levers to separate the seat sections?
If you can’t easily find the levers or brackets, check the underside of the sofa where the seats meet. You might need to remove a fabric skirt or cover first. We found that sometimes these connectors are tucked away and require a bit of searching. Feel gently along the frame for any metal tabs or sliding mechanisms.
How do I keep track of all the different screws?
The best way to manage hardware is to use small, resealable plastic bags. Place all screws and bolts from a specific part into one bag. Label each bag clearly with what it’s for, like “left armrest screws” or “center mechanism bolts.” This prevents mix-ups later.
Can I take apart just one section of a sectional recliner?
Yes, most sectional recliners are designed for individual section disassembly. The process is similar to a single sofa, focusing on the connection points between the sections. You’ll usually find clips or bolts that hold the modules together.
Is it easier to reassemble than to disassemble?
Reassembly is generally easier, especially if you took the time to organize and label your parts. Having all your hardware sorted and knowing which piece goes where significantly speeds up the process. If you’ve labeled the sofa sections themselves, putting it back together becomes much more straightforward.

![10 Best Cleaner For Velvet Sofa [2026]](https://hometopaccesories.com/wp-content/uploads/2026/09/10-best-cleaner-for-velvet-sofa-2026-featured-768x432.jpg)