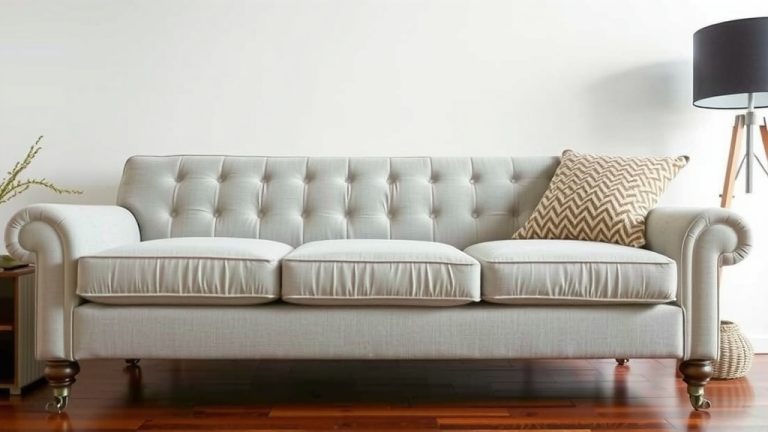
Assemble Your 3 Seater Recliner Sofa: Step-by-Step Guide
Yes, assembling a 3 seater recliner sofa is totally doable. You’ll primarily need to connect the seat sections and attach the footrest mechanisms. Most models are designed for DIY assembly, often requiring just a few basic tools.
We found that understanding the general steps can make the process much smoother. It’s often about locking sections together and securing the reclining parts. Don’t worry, it’s not as intimidating as it might seem at first glance!
- Unpack all boxes carefully.
- Identify all the main sections.
- Locate and attach the connecting brackets.
- Secure the footrest mechanisms.
- Test each reclining seat.
Let’s walk through exactly how to get your new recliner sofa ready for prime time, step by step.
Putting Your New 3-Seater Recliner Sofa Together
So, you’ve got a brand new, comfy 3-seater recliner sofa waiting to be assembled. It might look a little intimidating with all those parts, but trust us, you can totally do this. We found that most of these sofas are designed with DIY assembly in mind. The goal is usually to connect the main seat sections and then attach the reclining mechanisms. It’s less about heavy lifting and more about clever connections. Let’s get your living room ready for some serious relaxation!
Getting Started: Unboxing and Preparation
First things first, let’s get everything out of the boxes. Take your time and carefully unpack all the pieces. You’ll likely find several large sections: the center seat, and the two end seats (which are probably the ones that recline). There will also be smaller boxes containing brackets, screws, and maybe the hand levers for the recliners.
It’s really helpful to have a clear space to work in. Clear out a good chunk of your living room floor. This gives you room to move around and prevents you from scratching your new sofa or your floors. Lay out all the pieces so you can see everything at a glance. This helps in identifying all the main sections and smaller hardware pieces.
Inventory Check: What’s Inside?
Before you start connecting anything, let’s make sure you have all the parts. Check the instruction manual that came with your sofa. It usually has a list of all the components and hardware. Lay out all the screws, bolts, and brackets. Count them and compare them to the list. Missing a screw can be a real bummer when you’re halfway through assembly. We found that doing this initial check prevents a lot of potential headaches later on.
Gather Your Tools
Most 3-seater recliner sofas don’t require a workshop full of tools. Usually, you’ll only need a few basics. A Phillips head screwdriver is almost always a must-have. Sometimes, an Allen wrench (or hex key) is included, but having your own set can be handy. You might also need a small wrench for some bolts. Check your manual for the exact tools recommended. Having everything ready will make the assembly process much smoother and faster.
Assembling the Seat Sections
This is often the main event. Your 3-seater will likely come in two or three large pieces: a center section and one or two end sections. The end sections are typically the ones that recline. The goal here is to connect these large pieces together securely.
Locating the Connecting Brackets
Look at the bottom or the back of the seat sections where they are meant to join. You’ll usually find metal brackets already attached to one piece, with corresponding slots or holes on the other. These are designed to slide into each other or connect with bolts. Sometimes, these brackets are underneath the sofa frame. You might need to tilt the sofa section to access them.
Securing the Sections
Many recliners use a “slide and lock” mechanism. You’ll likely need to push the seat sections together firmly. You might hear a click or feel them settle into place. If there are bolts to secure the brackets, now is the time to tighten them. Don’t overtighten, as this could strip the threads or damage the frame. Just make them snug. We found that having a second person to help align the pieces can be incredibly useful here.
Attaching Support Bars (If Applicable)
Some models might have additional support bars that run underneath the sofa to connect the sections. If your sofa came with these, you’ll typically find pre-drilled holes and screws. Align the bar and secure it to the sofa frame. This adds extra stability to your assembled sofa. Research indicates that proper structural support is key to furniture longevity (Consumer Product Safety Commission).
Connecting the Reclining Mechanisms and Footrests
Now comes the part that makes it a recliner! The footrest mechanisms need to be attached. These are usually located underneath the seat on the sides of the reclining sections.
Identifying the Footrest Components
You’ll find metal tracks or levers that extend from the main sofa frame to the footrest. They might be separate pieces you need to attach, or they might just need to be aligned and clicked into place.
Attaching the Release Levers (Hand Pulls)
On the side of each reclining seat, usually under the armrest, you’ll find a small hole. This is where the hand pull lever attaches. It might screw in, or it might have a clip mechanism. Some models have cables that need to be connected from the lever to the footrest mechanism. Follow your manual carefully for this step. It’s like connecting the reins to a horse – you want a firm connection!
Securing the Footrest Mechanisms
If your footrest mechanisms are not already attached to the frame, you will need to secure them. This often involves sliding them onto a rail or bolting them into place. Look for pre-drilled holes on the underside of the sofa frame. Make sure they are oriented correctly, with the sliding or pivoting parts facing the right direction for the footrest to move.
Final Checks and Testing
You’re almost there! Before you sit down and get cozy, let’s do a final check. Double-check all the bolts and screws you’ve tightened. Make sure no brackets are loose. Ensure all the connecting pieces are fully engaged.
Now for the fun part: testing the recline. Gently pull the release lever on one of the end seats. The footrest should smoothly extend outwards. Push the back of the seat down with your body weight to recline. Test the other reclining seat the same way. If anything feels stiff, wobbly, or doesn’t move correctly, re-examine the connections for that specific seat.
We found that a little wobble can sometimes be fixed by ensuring the connecting brackets between the seat sections are perfectly aligned and fully locked. If the recliner mechanism is stiff, check that no cables are snagged. Following these steps should have your sofa ready for its maiden voyage into ultimate comfort!
Quick Assembly Checklist:
- All parts and hardware accounted for?
- Clear workspace available?
- Seat sections correctly connected and secured?
- Recliner levers and footrest mechanisms attached?
- All hardware tightened appropriately?
- Each recliner seat tested for smooth operation?
Conclusion
You’ve successfully navigated the assembly of your new 3-seater recliner sofa! We found that by carefully unpacking, identifying parts, and connecting the main sections, you’ve built a comfortable centerpiece for your living room. Securing the reclining mechanisms ensures those relaxing moments are ready. Remember to double-check all connections for stability and smooth operation. Now, you can fully enjoy your well-deserved comfort. Go ahead, settle in and put those recliners to the test!
Frequently Asked Questions
How much space do I need to assemble a 3-seater recliner sofa?
You’ll need a good amount of clear floor space. We recommend at least twice the length and width of the sofa itself. This allows you to comfortably unpack, maneuver, and connect all the large sections without bumping into walls or furniture.
What if a part seems to be missing or doesn’t fit?
First, check all the packaging thoroughly, as smaller pieces can sometimes get hidden. Then, re-verify against your instruction manual’s parts list. If a part is genuinely missing or doesn’t fit, contact the manufacturer’s customer service immediately. They can usually send replacements or provide troubleshooting advice.
Is it possible to assemble a recliner sofa by myself?
While you *can* assemble it alone, we found it’s much easier and safer with a second person. The seat sections are quite heavy, and having help to align them and hold them steady makes a big difference. This is especially true when connecting them and attaching the reclining mechanisms.
How tight should I make the bolts and screws?
Tighten all hardware until snug and secure, but avoid overtightening. Overtightening can strip the threads of screws or bolts, or even crack the sofa frame. Research suggests that a firm connection is sufficient for stability without causing damage to the furniture.
My recliner feels a bit stiff. What should I do?
A little stiffness is common on new recliners. Try operating the recliner mechanism several times, as we found this often helps loosen it up. Ensure that any cables connecting the hand lever to the footrest mechanism aren’t snagged or misaligned. If it remains stiff after a few uses, check the manufacturer’s manual for lubrication recommendations.