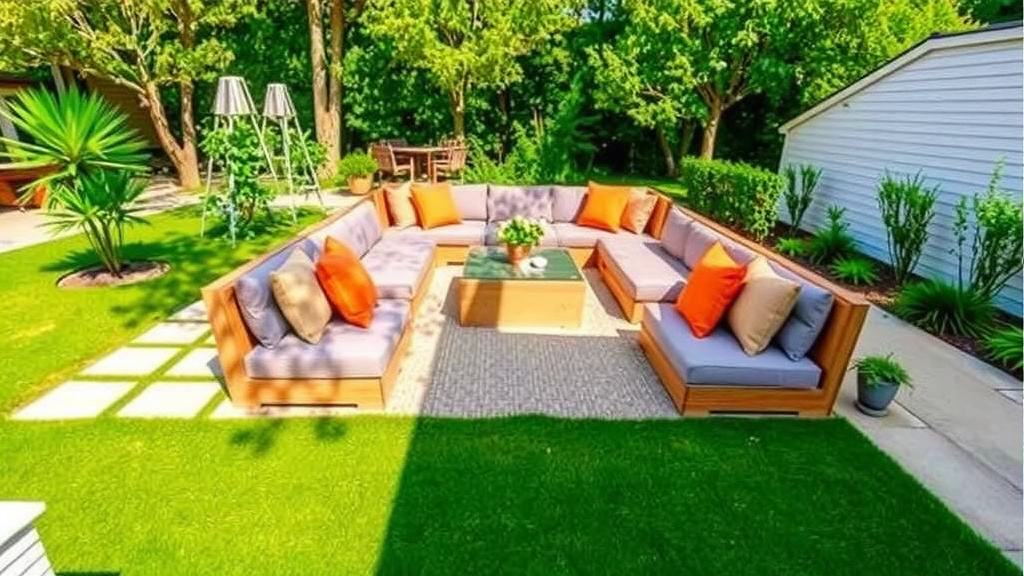
How to Build an Outdoor Sectional Sofa: Complete DIY Guide
To build an outdoor sectional sofa, start by building individual seat frames from weather-resistant wood, then join them in an L-shape with connectors or brackets. Add outdoor cushions, and you’ve got seating that costs a fraction of the store-bought price.
How much less? We looked into DIY plans and found that many builders spend half or less of what a ready-made sectional costs. Plus, you get to pick the exact size and layout that fits your patio, instead of squeezing in whatever the big-box store has on the shelf.
TL;DR: Building an outdoor sectional sofa
- Choose weather-resistant wood like cedar or pressure-treated lumber
- Build each seat module as a separate, sturdy frame
- Connect the modules into an L-shape or U-shape
- Sand, seal, or stain everything before cushions go on
- Finish with high-quality outdoor cushions and throw pillows
Below, we break down the whole process step by step, from picking lumber to picking pillows. Grab your tape measure, and let’s build something your neighbors will be jealous of.
Building Your Own Outdoor Sectional Sofa Step by Step
Building your own outdoor sectional comes down to six stages: planning the layout, buying lumber, cutting, building seat frames, connecting modules, and adding cushions. We found that most weekend builders finish the whole project in two to three days. Take it one stage at a time and it never feels overwhelming.
Step 1: Plan Your Layout and Take Measurements
Start with your space, not the sofa. Measure your patio or deck, then sketch the shape you want — an L-shape, a U-shape, or a straight run. Leave at least 30 inches of walkway around the furniture so people aren’t squeezing past sideways.
Decide how many seat modules you’ll build. Most DIY plans use modules around 24 to 28 inches wide per seat. That standard size keeps cushion shopping easy later, which your back (and your wallet) will thank you for.
Step 2: Choose the Right Lumber
Your wood choice decides how long this sofa lives outdoors. Here’s how the common options stack up:
| Wood Type | Cost | Durability | Notes |
|---|---|---|---|
| Cedar | $$ | High | Naturally rot-resistant, light, smells great |
| Pressure-treated pine | $ | High | Cheapest option; let it dry before sealing |
| Redwood | $$$ | High | Beautiful but pricey, depends on your region |
| Regular pine | $ | Low | Fine only if fully covered by a roof |
Many builders we researched go with cedar for the balance of price and lifespan. If you use pressure-treated lumber, look for newer formulas without arsenic-based treatments; the EPA tightened those standards years ago.
Step 3: Gather Your Tools and Materials
Before you make a single cut, get everything in one place. Nothing kills momentum like a Home Depot run at 7 p.m. on Saturday.
- Circular saw or miter saw
- Drill with driver bits and 2.5-inch exterior screws
- Tape measure, speed square, and pencil
- Wood glue rated for outdoor use
- Sander with 120- and 220-grit sandpaper
- Safety glasses and ear protection
A quick word on safety: saws send roughly 30,000 people to emergency rooms each year in the US, according to Consumer Product Safety Commission data. Glasses on, fingers back. Every cut.
Step 4: Build the Seat Frames One Module at a Time
Each module is just a sturdy box. Think of them like big wooden shoeboxes that happen to hold your in-laws.
Cut Your Pieces
For one module, cut two side rails, two end rails, and slats for the seat deck. Label every piece with pencil as you cut. Trust us — mid-project, “that long board” stops meaning anything.
Assemble and Reinforce
Glue the joints, then screw them together. Predrill your screw holes so the wood doesn’t split. Add a center support beam under wide seats; it keeps the slats from sagging when someone plops down with a plate of BBQ.
Square matters here. Measure corner to corner in both directions — when the two numbers match, your frame is square. If not, nudge it before the glue sets.
Step 5: Connect the Modules into Your Sectional Shape
This is the part that turns “a bunch of boxes” into an actual sectional. Line up your modules in the layout you planned, then fasten them together from the inside so the hardware stays hidden.
You have two solid options:
- Brackets: Heavy-duty angle brackets screwed into the inner faces of adjoining modules. Cheap, strong, invisible from the outside.
- Wooden connector blocks: Screw a scrap block across the seam inside each corner. Simple and free.
Leave one or two modules unattached if you want the flexibility to rearrange later. Sectionals that can split into separate chairs are handy when you host more people than planned.
Step 6: Sand, Seal, and Finish the Wood
Sanding feels optional. It is not. Rough corners and splinters are how outdoor furniture earns a bad reputation. Start with 120-grit, finish with 220, and round over any sharp edges.
Then seal it. A good exterior sealant or stain is the difference between a sofa that lasts three summers and one that lasts ten. Many manufacturers recommend reapplying sealant every year or two, depending on your climate. Live somewhere rainy or snowy? Inspect it each spring.
Let everything dry fully before cushions touch the wood. Trapped moisture under a cushion is a mold starter kit.
Step 7: Add Cushions and Make It Yours
Now the fun part. Look for cushions labeled for outdoor use with quick-dry foam and covers made from solution-dyed acrylic or polyester. Cheap indoor cushions will turn into sad, soggy pancakes after the first storm. Before you invest in a full set, it helps to know how long sofa cushions last and what shortens their lifespan.
Check the care labels before buying. Removable, machine-washable covers save you endless scrubbing — and the American Lung Association notes that keeping furniture dry and clean helps discourage mold growth in living spaces, outdoors included.
Add throw pillows, maybe a weatherproof storage bench nearby for the cushions when storms roll in, and you’re done.
Your Pre-Build Checklist
Before you head to the lumber yard, run through this quick list:
- Measured your patio and sketched your layout on paper
- Picked weather-resistant lumber (cedar or pressure-treated)
- Confirmed module width matches standard cushion sizes
- Bought exterior-rated screws, glue, and sealant
- Gathered safety gear: glasses, ear protection, gloves
- Set aside a full weekend — cutting day and assembly day
That’s the whole project, start to finish. Six steps, one checklist, and a sofa you’ll be pointing at every time someone visits: “Yeah, I built that.”
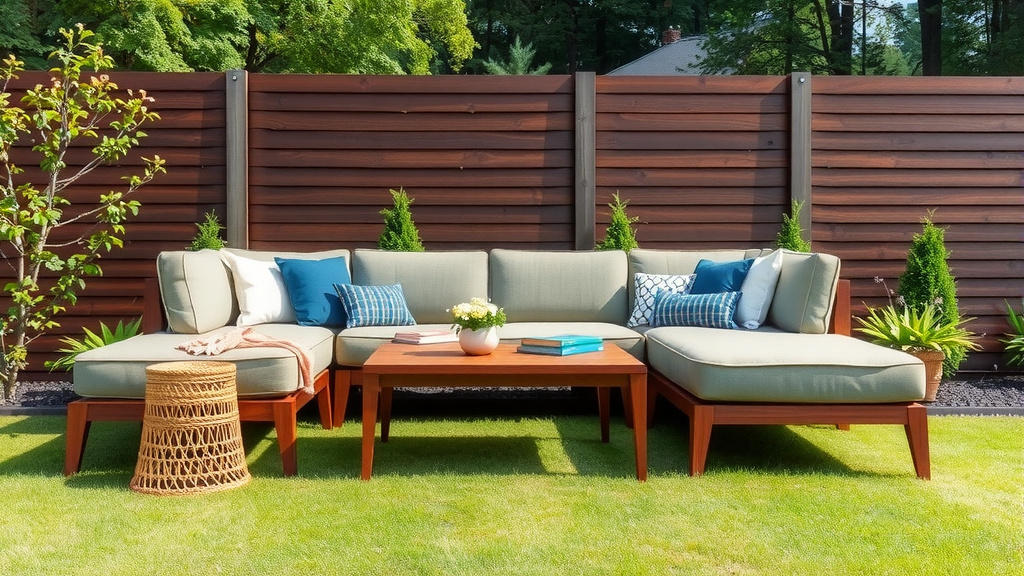
Conclusion
Building your own outdoor sectional sofa is one of those projects that looks harder than it is. Seven straightforward steps, a weekend or two, and weather-resistant lumber gets you custom seating at a fraction of retail cost. The keys we found: plan your layout first, build each module as a solid box, and never skip the sealing step. Do those things right, and your sofa can outlast several store-bought ones. So grab your tape measure, sketch that L-shape, and head to the lumber yard this weekend. Your patio — and your wallet — will be glad you did.
Frequently Asked Questions
How much does it cost to build an outdoor sectional sofa?
Most DIY builders spend between $150 and $400 on lumber and hardware, depending on the wood you choose and the size of your layout. Outdoor cushions are usually the biggest extra cost, often running $20 to $60 per seat. Compare that to $2,000 or more for a comparable store-bought sectional, and the savings add up fast.
Can I build an outdoor sectional if I’ve never used a saw before?
Yes, and this is actually a great first project. The cuts are all straight lines, and the frames are simple boxes. Borrow or rent a miter saw if a circular saw feels intimidating, and practice on scrap wood first. Just take your time and keep your safety gear on.
How do I protect my DIY sectional from rain and sun?
Start with a quality exterior sealant or stain, then reapply it every year or two. Store your cushions in a weatherproof bench or deck box when storms roll in, since dry cushions last years longer. A furniture cover for the frame itself is cheap insurance if your sofa sits in full sun or open rain. If you go the cover route, our step-by-step guide on how to put on a sofa cover makes fitting one painless.
Do I need to anchor my outdoor sectional to the deck?
In most cases, no. A well-built sectional is heavy enough that it stays put in normal weather. If you live somewhere with strong winds, you can screw the modules to the deck surface through the bottom frame or add ground anchors. Just remember to use exterior-rated fasteners so nothing rusts.
What size cushions should I buy for a DIY sectional?
Match the cushion to your module width, which is why planning ahead matters. If you built seats 24 to 28 inches wide, standard outdoor seat cushions in those sizes will fit without custom orders. Measure the depth too, and look for cushions at least 4 inches thick so they stay comfortable through long dinners outside.