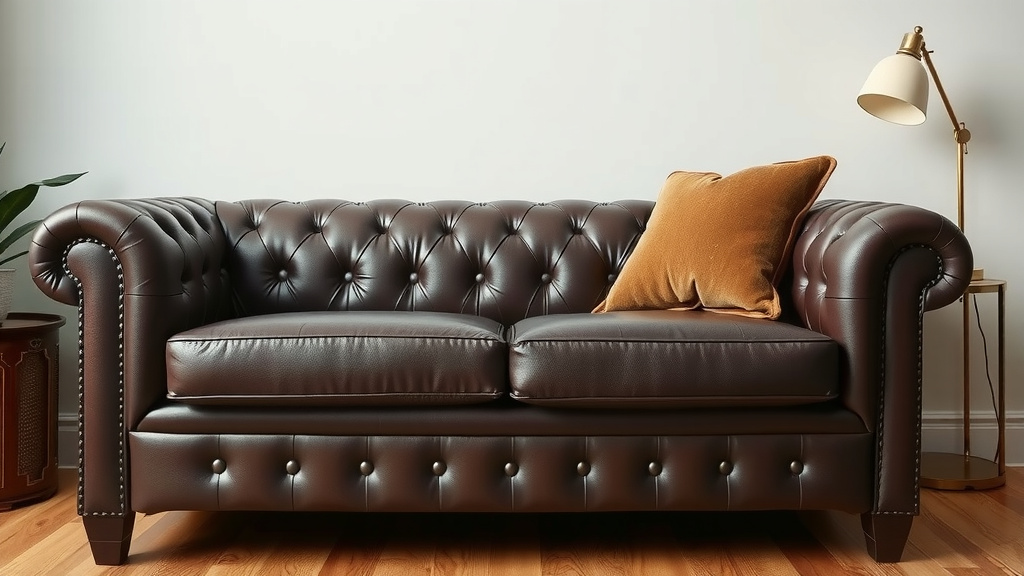
How to Build a Chesterfield Sofa: A Complete DIY Guide
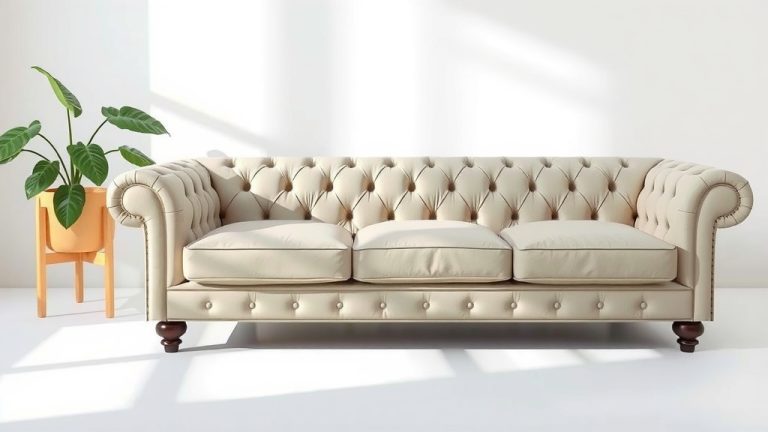
Building a chesterfield sofa comes down to four main stages: building a sturdy frame, adding foam and batting, cutting and quilting the tufted upholstery, and attaching that classic buttoned back. Most DIYers can finish one in a weekend or two. Yes, it takes patience — but the result looks like it came straight from a high-end showroom.
Why build one instead of buying? A quality cheffield sofa can cost thousands, but DIY versions often run a fraction of that. We researched plans from woodworking and upholstery experts and found that most first-timers pull it off with basic tools, plywood, foam, and fabric. The tricky part is the tufting, and we’ll show you how to handle it without losing your cool (or your buttons).
- A solid wood frame is the foundation of everything.
- Layer foam and batting before you ever touch fabric.
- Tufting requires careful measuring and a diamond pattern.
- Basic DIY tools are enough — no special upholstery gear needed.
- Most people can complete the build in one to two weekends.
Below, we walk you through every step of building your chesterfield sofa, from cutting the frame to tying off the last button. Grab a coffee, and let’s get started.
Building Your Chesterfield Sofa Step by Step
Building a chesterfield sofa breaks down into four big jobs: the frame, the padding, the fabric, and the tufting. Tackle them in order and you’ll avoid the mistakes that trip up most first-timers. We researched builds from woodworking and upholstery communities, and we found that preparation matters more than fancy tools.
Step 1: Gather Your Tools and Materials
You don’t need a professional workshop. Most DIY plans call for the same short list of supplies, and we found that a basic garage setup handles the whole project. Here’s your shopping list:
- 3/4-inch plywood for the frame and back panel
- 2×4 and 2×6 lumber for legs, arms, and supports
- High-density upholstery foam (2-inch and 4-inch thicknesses)
- Polyester batting and muslin fabric for a base layer
- Upholstery fabric like linen, velvet, or faux leather
- Buttons with shanks, tufting twine, and a long upholstery needle
- Wood screws, wood glue, a staple gun, and a jigsaw
Buy about 20 percent extra fabric. Tufting eats material fast because the deep folds pull fabric inward. Pros call this “waste factor,” and skipping it is a rookie mistake we hope you avoid.
Step 2: Build a Strong Frame
The frame is your sofa’s skeleton. If it’s weak, everything on top fails. Cut plywood pieces for the seat platform, back, arms, and front rail, then join them with screws and wood glue.
Key Measurements to Get Right
Most plans call for a seat height of 17 to 19 inches and a seat depth around 22 inches. Match standard sofa dimensions so your build feels comfortable, not cramped. Double-check the back height before cutting — chesterfields sit tall, usually 30 to 32 inches.
Reinforce every corner with glue blocks. Small triangles of scrap wood glued into corners add serious strength for almost no cost. Many experts say corners are the first place cheap sofas fail.
Step 3: Add Foam and Batting
This stage turns a wooden box into a sofa. Layer foam on the seat, arms, and back, then wrap everything in batting. Think of batting as the sweater that smooths out lumps before the nice jacket goes on.
- Glue 4-inch foam to the seat platform
- Wrap foam edges with batting for softer, rounded corners
- Stretch muslin over the padding and staple it tight
- Trim excess batting at corners to avoid bulges
- Test-comfort each surface before moving on
Sit on it. Seriously. It’s much easier to fix soft spots now than after the fabric goes on.
Step 4: Plan Your Diamond Tufting
Tufting is what makes a chesterfield a chesterfield. Diamonds of fabric pinch inward between buttons, creating that deep, luxurious look. It’s also the step that scares people most — unfairly, in our opinion.
Marking the Tufting Grid
Start with the foam still bare. Mark a grid on the foam using a washable marker, spacing buttons roughly 6 inches apart in a staggered, diamond pattern. Staggering means each row shifts half a space, like bricks in a wall. That’s what creates diamonds instead of squares.
Drill small holes through the back panel at each button mark. Your needle and twine will pass through these holes and tie off behind the frame. Measure twice here. A crooked grid shows forever.
Cutting Fabric for Deep Tufting
Cut small slots in the fabric at each button position so fabric can fold deep into the foam. Wait — won’t that show? No. The button covers the slot, and the folds hide the rest. We found that cutting slots, rather than just pushing the needle through, keeps pleats crisp and even.
Step 5: Upholster and Tuft the Back
Drape fabric over the padded back, centering it carefully. Start tufting from the center and work outward. This keeps the pattern symmetric — work from an edge inward, and small errors stack up into a lopsided mess.
Push your needle through a slot, through the foam and back panel hole, and pull the twine through to the back. Slip a button on, then pull the twine tight while pressing the button deep into the foam. Knot it off securely. Then move to the next point.
Create pleats at each tuft by folding the fabric on both sides of the button. Alternate fold directions to form the diamond shape. A butter knife helps tuck fabric folds neatly into the creases. Low-tech? Yes. Effective? Also yes.
Step 6: Upholster the Seat, Arms, and Base
The seat fabric staples directly to the platform edges, so this part moves fast compared to the back. Stretch fabric firmly as you staple — loose fabric wrinkles over time. Work from the center out to the corners on each side.
For the arms, cut fabric with notches at the curves so it wraps smoothly around the rolled arm shape. Chesterfield arms roll forward, so a curved cardboard template helps you cut matching pieces. Batting under the fabric here adds that plump, padded look.
Finish the base with a dust cover fabric stapled across the bottom. It hides the twine knots and screw heads. Your future vacuuming self will thank you.
Step 7: Attach Legs and Final Details
Screw in wooden legs — casters or tapered styles both suit the classic look. Check that the sofa sits level on your floor. Then trim loose threads, fluff the pleats, and step back for the big reveal.
Common Mistakes to Avoid During the Build
We found that most problems trace back to a few predictable slips. Dodge these and your build goes smoother:
- Skipping a frame dry-fit before gluing — check every joint first
- Marking the tufting grid unevenly, which ruins the diamond pattern
- Buying too little fabric and running out mid-tuft
- Not tying buttons tightly enough, leaving flat tufts
- Stapling fabric without stretching, causing future wrinkles
- Rushing padding layers — lumps show through fabric forever
How Long Does the Project Really Take?
Plan on 12 to 18 hours of work across two weekends. The frame takes a day; upholstery and tufting take the rest. Why the spread? Tufting alone often takes three to four hours because every button needs pressing, folding, and tying. Set realistic expectations and you won’t burn out halfway.
| Stage | Time Estimate | Difficulty |
|---|---|---|
| Frame construction | 5–7 hours | Moderate |
| Foam and batting | 2–3 hours | Easy |
| Tufting the back | 3–4 hours | Challenging |
| Seat, arms, and base | 2–3 hours | Moderate |
When to Wear Protection While Building
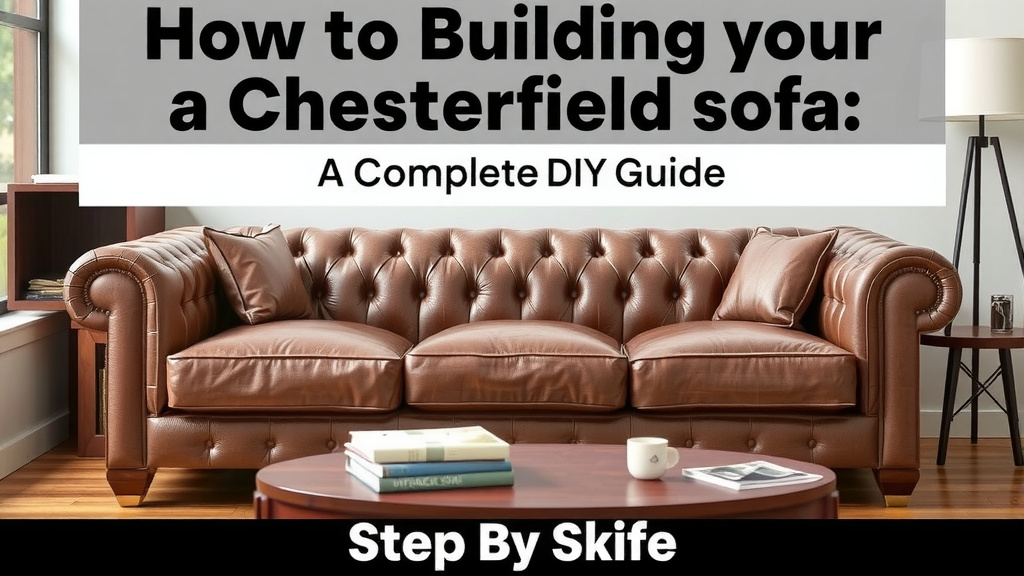
Basic safety keeps the project fun instead of painful. Wear safety glasses when cutting plywood with a jigsaw, since splinters fly. Use ear protection with power tools for long stretches, because hearing damage adds up quietly over time (CDC). Keep a first aid kit nearby, too — staple guns and box cutters earn most DIY injuries. Slow down when tired. A fresh morning of tufting beats a rushed midnight attempt every single time.
Conclusion
Building a chesterfield sofa is a big project, but it breaks into small, doable jobs. A solid frame sets you up for success, careful padding hides imperfections, and patient tufting delivers that signature diamond look. We found that the DIYers who succeed aren’t the ones with fancy tools — they’re the ones who measure twice, buy extra fabric, and refuse to rush the tufting grid. When you sink into a sofa you built with your own hands, every knot and staple feels earned. Ready to start? Sketch your frame dimensions tonight, order your foam and fabric this week, and book your first build weekend. Your living room is about to get a whole lot more impressive.
Frequently Asked Questions
How much does it cost to build a chesterfield sofa yourself?
Most DIY builds run between $300 and $600, depending on your fabric choice. Velvet and faux leather cost more than linen, and foam prices vary by region. Compare that to the four-figure price tags on store-bought versions, and the savings speak for themselves.
What type of fabric works best for tufting?
Choose a fabric with some structure, like medium-weight linen, velvet, or faux leather. Thin, slippery fabrics shift during tufting and show every fold unevenly. We found that fabrics with a slight stretch actually make pleats easier to form and tuck.
Can I build a chesterfield sofa without a sewing machine?
Yes. Chesterfield upholstery relies on cutting, folding, and stapling rather than sewing. The fabric panels wrap around the frame and get stapled in place, so no stitched seams are required. If you can cut a straight line with scissors, you can handle this build.
How do I clean and maintain a DIY tufted sofa?
Vacuum the tufted back weekly using a brush attachment to pull dust out of the diamond folds. Blot spills immediately with a damp cloth — never rub, or you’ll spread the stain deeper into the pleats. Fabric guard spray applied after the build adds an extra layer of protection.
Is building a sofa cheaper than buying one?
For a chesterfield, almost always yes. Retail tufted sofas carry a premium because tufting is labor-intensive at the factory level. Your build trades money for time, so if you have a couple of weekends to spare, you keep hundreds of dollars in your pocket.