How to Make a Sofa: Step-by-Step DIY Guide
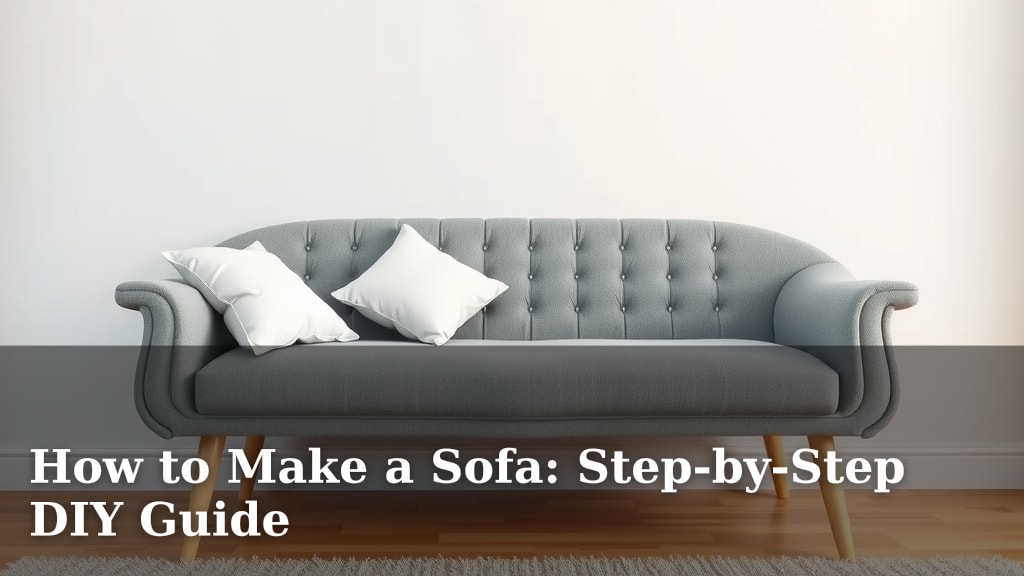
You can absolutely make your own sofa with a bit of planning and some basic DIY skills. Building a sofa from scratch is a **rewarding project** that allows you to customize size, style, and fabric. This guide will walk you through **how to make a sofa** step-by-step.
Creating a custom sofa means you get exactly what you want for your space. It’s a fantastic way to save money compared to buying designer furniture. Plus, you’ll have a piece of furniture that’s **uniquely yours**, built with your own hands. Many DIYers find it **more achievable than they imagine**.
- Plan your sofa’s design and dimensions.
- Gather all necessary materials and tools.
- Build the sofa frame and add cushioning.
- Upholster your custom-made sofa.
- Add finishing touches for a professional look.
Ready to get your hands dirty and create a couch you’ll love for years to come? Let’s break down exactly how to make a sofa from the ground up.
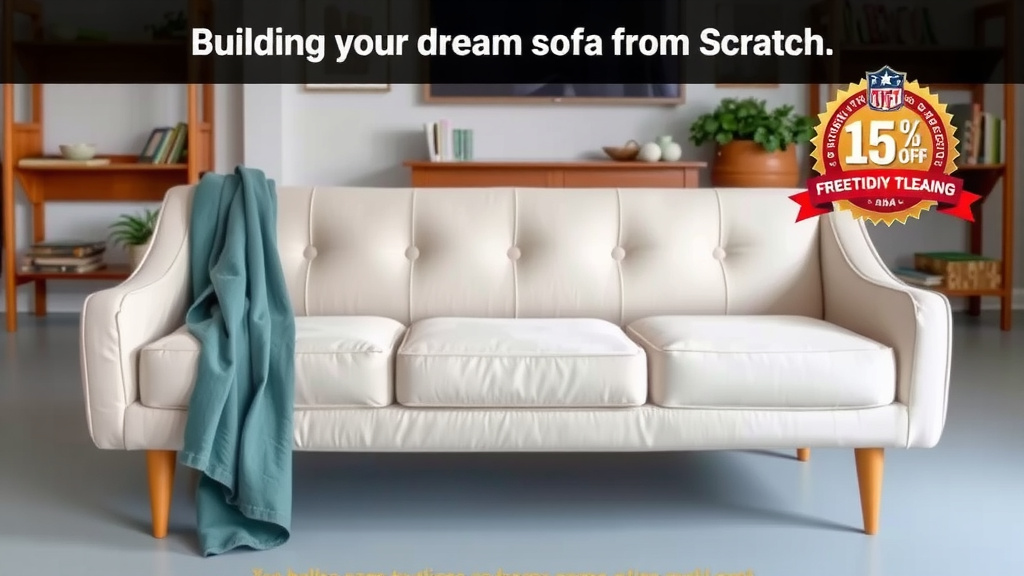
Building Your Dream Sofa from Scratch
You’re probably wondering if building a sofa is truly within reach. We’ve found that with careful planning, it’s a very **achievable DIY project**. It gives you control over every detail. Let’s walk through the steps so you can build a couch that fits your space and style perfectly.
Step 1: Designing and Planning Your Sofa Project
Before you cut any wood, you need a solid plan. Think about the dimensions. How wide and deep should it be? Consider how many people will use it regularly. Measure your room carefully. You don’t want a sofa that’s too big or too small. Sketch out your design. It doesn’t have to be a masterpiece. Simple drawings will help you visualize the final product.
Determining Sofa Dimensions and Style
Your sofa’s size is dictated by your space and needs. A small apartment might need a compact loveseat. A large living room could accommodate a sectional. Think about the height of the back cushions. Do you prefer a low-profile modern look or a taller, more traditional style? We found that most DIY sofas are based on simple rectangular frames. This makes them easier to build.
Creating a Materials List
Once your design is set, list everything you’ll need. This includes wood for the frame, screws, glue, foam for cushions, fabric, and any hardware. We recommend making a detailed list. It prevents last-minute store runs. Check prices and availability for all items. This is where you get a **realistic budget** together.
| Material Category | Common Items | Notes |
|---|---|---|
| Wood for Frame | Plywood, 2x4s, 1x4s | Choose sturdy, straight lumber. Plywood is great for panels. |
| Fasteners & Adhesives | Wood screws, wood glue | Use screws appropriate for the wood thickness. |
| Cushioning | High-density foam, batting | Select foam firmness based on comfort preference. |
| Upholstery | Durable fabric, upholstery thread | Consider wear and tear, cleaning needs. |
| Tools | Saw, drill, staple gun, measuring tape | Ensure you have safety gear like glasses and gloves. |
Step 2: Building the Sofa Frame
This is the backbone of your sofa. A strong frame is essential. We’ve seen many successful DIY frames built from plywood and 2×4 lumber. These are sturdy and readily available. Your plan will guide you on the exact cuts needed. Measure twice, cut once – it really does save time and material!
Constructing the Base and Sides
Start by building the main box. This will be the base of your sofa. Cut your plywood to size for the bottom and sides. Attach them securely using wood glue and screws. Ensure all corners are square. A sturdy base prevents sagging later. Many guides suggest using 2x4s for internal support. These add **extra strength and rigidity** to the structure.
Adding Internal Supports and Back Structure
Internal bracing is key for durability. Add horizontal 2x4s across the width of the base. These support the seat cushions. For the back, build a frame using 2x4s. Attach this securely to the base. Make sure it’s at a comfortable angle for lounging. Some DIYers add a lower crossbar at the back. This helps prevent bowing over time. We found this trick significantly extends the sofa’s life.
Attaching Legs or Base
Decide on your sofa’s legs. Will they be simple wooden blocks or elegant tapered legs? You can buy pre-made furniture legs. Or, you can make your own from sturdy wood. Attach them securely to the underside of the sofa base. Ensure they are evenly spaced. This provides stability and lifts the sofa off the floor. Some designs use a solid plinth base instead of individual legs.
Step 3: Adding Cushioning and Comfort
Now for the cozy part! Good cushioning makes a sofa truly inviting. You’ll need foam for the seat and back cushions. We recommend high-density foam. It offers good support and bounces back well. Foam can be purchased in sheets. You’ll cut it to the size of your cushions.
Cutting and Shaping the Foam
Measure the dimensions for each cushion. This includes the seat cushions and any back cushions. Transfer these measurements to your foam sheets. Use a sharp utility knife or an electric carving knife to cut the foam. A slightly larger size can create a plumper look. Some people like to round the edges of their seat cushions for a softer feel. This gives it a **more professional finish**.
Wrapping Foam for a Fuller Look
To give your cushions a plush, inviting look, wrap the cut foam. Use a layer of polyester batting. This smooths out any rough edges on the foam. It also makes the cushion look fuller and more comfortable. You can secure the batting with a spray adhesive or simply by wrapping it tightly. Think of it like wrapping a present, but softer!
Step 4: Upholstering Your Custom Sofa
This is where your sofa really starts to look like a sofa! Upholstery can seem daunting, but it’s manageable. Choose a durable fabric. Consider how much wear and tear it will get. Cotton, linen blends, or performance fabrics are good choices. You’ll need a lot more fabric than you might initially think.
Cutting Fabric for Cushions
Measure your foam-wrapped cushions. Add extra fabric for seams and to wrap around the edges. You’ll need to decide how your cushions will close. Zippers are common and practical. For a simpler approach, you can create envelope-style backings. Cut your fabric pieces carefully. Don’t forget to account for any patterns you might want to match.
Attaching Fabric to the Frame
Stretch your chosen fabric over the sofa frame. Start at the back or underside. Use a heavy-duty staple gun to secure the fabric. Pull the fabric taut as you go. This prevents wrinkles and creates a smooth surface. Work your way around the frame, smoothing out any puckers. You want a **tight, professional finish**. Some areas might require multiple folds and staples. Take your time here.
Creating and Stuffing Seat and Back Cushions
Now, you’ll make the individual cushion covers. Sew your fabric pieces together, leaving an opening for the foam. Turn the covers right-side out. Insert the foam. Close the opening securely. If you’re using zippers, install them before sewing the final seam. For a filled look, you can add a bit of fiberfill alongside the foam. This makes them extra huggable!
Step 5: Final Touches and Finishing
You’re almost there! A few finishing touches can make your DIY sofa look like it came from a high-end furniture store. These small details make a big difference.
Adding Piping or Trim (Optional)
Piping, or cording, is a decorative trim that runs along seams. It adds a polished look. You can buy pre-made piping or make your own. Attach it to the fabric pieces before you sew them together. This requires careful sewing. Decorative nailhead trim can also be added along the bottom edges for a sophisticated touch.
Attaching the Upholstery to the Frame
For any fabric that wasn’t stapled during the initial upholstering process, ensure it’s neatly finished. You can use a staple gun on the inside of the frame where it won’t be seen. Or, you could add a skirt around the bottom. This hides the legs and the base structure. A well-finished base gives your sofa a **complete and professional appearance**.
Final Inspection and Placement
Give your new sofa a thorough look-over. Check all the seams. Make sure there are no loose staples. Fluff the cushions. Carefully move your new creation into its prime spot in your home. Take a step back and admire your work! You did it!
DIY Sofa Project Checklist:
- Finalize your sofa design and measurements.
- Purchase all lumber, hardware, foam, and fabric.
- Cut and assemble the main sofa frame.
- Cut, wrap, and prepare foam cushions.
- Upholster the frame and create cushion covers.
- Add any decorative trim or finishing touches.
Conclusion
You’ve reached the end of your DIY sofa-building journey! We hope this guide showed you just how achievable creating your own custom couch can be. From carefully planning dimensions to upholstering the final cushion, each step builds towards a piece of furniture that’s uniquely yours. Remember, the reward of building something with your own hands is immense. Now, take a deep breath, gather your tools, and get ready to build the sofa you’ve always dreamed of!
Frequently Asked Questions
How much fabric do I actually need for a DIY sofa?
It’s wise to buy more fabric than you think you’ll need. We found that a standard three-seater sofa often requires 8-12 yards of fabric. Always check the fabric’s width and your sofa’s dimensions. It’s better to have extra for mistakes or matching patterns than to run short.
What type of wood is best for building a sofa frame?
For a strong and durable frame, we recommend using kiln-dried hardwood like oak or poplar. Sturdy plywood, especially ¾-inch thick, is also excellent for panels and structural support. Standard 2x4s are perfect for internal bracing, ensuring your sofa won’t sag over time.
Can I make sofa cushions that are super comfortable?
Absolutely! The key to comfortable cushions is selecting the right foam. High-density foam offers great support and longevity for seating. For an extra plush feel, we suggest wrapping the foam in a layer of polyester batting. This creates a softer, more inviting surface.
Is it difficult to upholster a sofa frame smoothly?
Upholstering can be tricky, but patience is key. We found that working from the underside and back of the frame first helps hide staples. Always pull the fabric taut as you staple. Smoothing out wrinkles and ensuring a tight fit before stapling will give you a much more professional look.
What’s the difference between a sofa frame and a sofa base?
The sofa frame typically refers to the entire internal structure that gives the sofa its shape – the seat, back, and arm supports. The sofa base is the bottom part of the frame, often where the legs attach. Sometimes, the base is designed as a solid plinth rather than individual legs.
![10 Best Choice Sofa [2026]](https://hometopaccesories.com/wp-content/uploads/2026/09/10-best-choice-sofa-2026-featured-768x432.jpg)