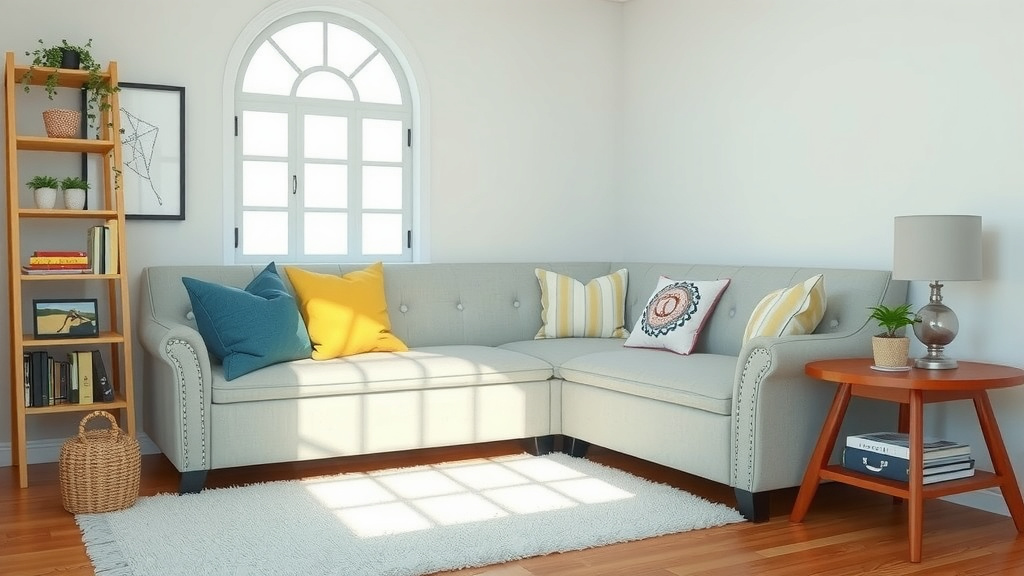
How to Build a Corner Sofa: A Step-by-Step DIY Guide
The easiest way to build a corner sofa is to start with a solid frame made from 2×4 lumber, then add the seat bases, corner connector, cushions, and fabric. It comes down to six basic steps: plan your size, cut your wood, build the frame sections, join them at the corner, add padding, and staple on your upholstery fabric.
A DIY corner sofa usually costs between $200 and $600, depending on your materials. That’s a fraction of what you’d pay in a furniture store, where similar pieces often run $1,500 or more. We researched dozens of builds and found that most first-timers finish the whole project in a weekend or two. Sounds doable, right?
Here’s the quick version before we get into the details:
- Sketch your layout and measure your space first.
- Build two rectangular frame sections plus a corner unit.
- Join everything with pocket screws or corner brackets.
- Add plywood seat bases and foam cushions for comfort.
- Staple fabric over foam, and you’re done.
Many experts say the corner joint is where most people get stuck, so we’ll spend extra time there. Below, we break down everything you need to know about building a corner sofa, step by step, with plain-English tips along the way.
Building a Corner Sofa Step by Step
Now let’s roll up our sleeves. Building a corner sofa breaks down into a handful of manageable steps, and none of them require fancy skills. If you can measure twice and cut once, you can do this. We found that people who succeed share one habit: they prep everything before touching a single board.
Gather Your Tools and Materials
Here’s where many projects stall before they start. Nobody wants to make five trips to the hardware store in one afternoon. Trust us, we’ve been there. Grab everything first, then build in one clean run.
Most builds need the same basic toolkit:
- A circular saw or miter saw for straight cuts.
- A drill with driver bits and wood screws.
- A pocket hole jig, if you plan to hide your joints.
- A staple gun with 1/2-inch staples for fabric.
- A tape measure, square, pencil, and safety glasses.
Your Shopping Checklist
Check these items off before you start cutting:
- Six to eight 2×4 boards, 8 feet long each.
- One sheet of 3/4-inch plywood for seat bases.
- High-density foam, at least 4 inches thick.
- Upholstery fabric, 6 to 8 yards.
- Wood glue and 2.5-inch screws.
- Sandpaper, 120 grit, for smoothing rough edges.
Prices vary by region, but most people spend $200 to $600 total. Lumber yards often cut boards for free, which saves you saw time and cleanup. Ask. It never hurts.
Cut Your Lumber
Measure your space first, then work backward. A typical corner section runs about 3 feet on each side. Seat height should land between 17 and 19 inches, which matches most furniture standards. Your knees will thank you at movie night.
Cut your 2x4s into lengths for rails and legs. Sand every cut edge. Rough lumber splinters fabric fast, and fixing that later means pulling staples out. Ask anyone who’s tried it. Not fun.
Build the Two Seat Sections
Each section is a simple rectangular box. Screw the front and back rails to the side rails, then add a leg at each corner. Wood glue plus screws makes joints that hold for years.
Use a carpenter’s square at every corner. If a box is off by even a quarter inch, the corner unit won’t line up. A wobbly corner is the first thing guests notice, right after your dog.
Master the Corner Joint
Here it is, the step everyone dreads. Relax, though. The corner joint is just three boxes meeting at an L. The trick is making the corner unit slightly larger on top so the side sections butt into it cleanly. Think of it like puzzle pieces. One piece overlaps, and everything clicks.
Many builders we researched recommend pocket screws for the cleanest look. Corner brackets work too and cost less. Both are solid choices, so pick based on your budget and tools.
Pocket Screws vs. Corner Brackets
| Method | Cost | Skill Level | Best For |
|---|---|---|---|
| Pocket screws | $40 jig plus screws | Beginner-friendly | Hidden joints, furniture-grade finish |
| Corner brackets | $10 to $15 | Very easy | Fast builds, budget projects |
Whichever you choose, drill pilot holes first. Undrilled wood near board ends splits like an overcooked sausage. One pilot hole saves an entire board.
Attach the Plywood Seat Base
Cut plywood panels to sit inside each seat frame. Screw them down every 8 inches along the rails. This surface carries all the weight, so don’t skimp on screws. A 3/4-inch panel flexes far less than thinner stock.
Clamp the panels before drilling. Plywood loves to walk around mid-screw, and a slipped panel means a crooked cushion later. Two clamps cost $20 and save real headaches.
Adding Comfort: Foam and Fabric
Your frame is done. Now comes the part your family will actually feel. The National Institutes of Health notes that seat firmness and support affect posture and comfort during long sitting sessions, so quality padding matters more than you might think.
Pick the Right Foam
Buy high-density foam rated for furniture, not mattress toppers. Four to six inches thick is the sweet spot for a sofa seat. Cutting foam is easy: mark a line with a marker and slice with a long bread knife using slow, sawing strokes. Serrated knives work like magic here.
Wrap each cushion in batting before covering it with fabric. Batting softens the hard edges and gives cushions that plump, store-bought look. It’s a five-dollar upgrade that reads like a $500 one.
Upholstering Like a Pro
Lay fabric face down, set the foam on top, and pull the material snug around it. Staple at the center of each side first, then work outward. Corners get folded like wrapping a gift, tucked flat, and stapled down. Save your best corner folds for the front-facing sides.
Wash and pre-shrink your fabric before cutting if the care label allows it. Fabric that shrinks after upholstery will pucker at every staple. One laundry cycle prevents a redo.
Wear eye protection when using the staple gun, and keep fingers clear of the firing zone. The Consumer Product Safety Commission reports thousands of tool-related injuries each year, many from rushed hands. Slow is smooth. Smooth is fast.
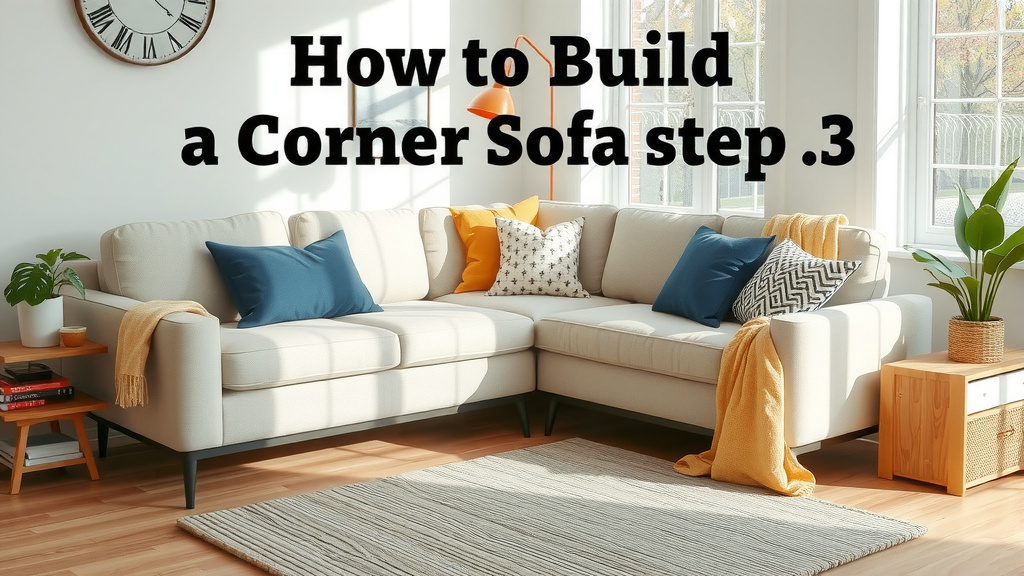
Final Safety and Quality Checks
Before you plop down with snacks, run through this final checklist:
- Rock each section hard. Nothing should shift or creak.
- Check that all screws sit flush or below the wood surface.
- Sand any exposed edges one more time.
- Sit at the corner joint. It should hold steady with zero wobble.
- Zip or tug the cushions to confirm staples are fully seated.
- Vacuum sawdust off the fabric before the first sit-down.
Some builders add felt pads under the legs to protect hardwood floors. Others add a center support leg under long sections for extra strength. Neither step is required, but both are cheap insurance. Your back and your floor will both notice the difference, in a good way.
Conclusion
Building your own corner sofa comes down to patience and prep. Gather your tools first, build two solid frame sections, and take your time with the corner joint. That’s where winners and wobbles get decided. We found that readers who measure carefully and pre-drill their holes end up with furniture that holds up for years, not months. And for a fraction of the store price, you get a piece sized exactly to your room. Don’t wait for the perfect weekend. Pull out your tape measure tonight, sketch your layout, and make that lumberyard run. Your future self, sprawled out on a sofa you built, will thank you.
Frequently Asked Questions
How long does a DIY corner sofa last?
A well-built 2×4 frame easily lasts 10 years or more with normal use. The fabric and foam wear out faster than the frame. We found most people refresh cushions and upholstery every 5 to 7 years.
Can I build a corner sofa without a pocket hole jig?
Absolutely. Corner brackets and standard wood screws work fine, especially if you add wood glue at every joint. The joints just won’t be hidden, which matters less on casual or covered designs.
What’s the best fabric for a beginner upholsterer?
Canvas, duck cloth, and outdoor fabrics are forgiving and don’t stretch much while you staple. Avoid slippery materials like satin or vinyl on your first try. They shift under the staple gun and drive beginners crazy.
How do I make my corner sofa cushions stay in place?
Add a strip of hook-and-loop tape or a few discreet screws with washer heads through the plywood base into the cushion bottom. A non-slip rug pad cut to size also works and costs almost nothing.
Is it cheaper to build or buy a corner sofa?
Building almost always wins on price. Your $200 to $600 in materials compares to $1,500 or more at retail. The trade-off is your time and labor, so decide what your weekends are worth to you.