How to Build a Sofa Bed for Your Camper: Step-by-Step Guide
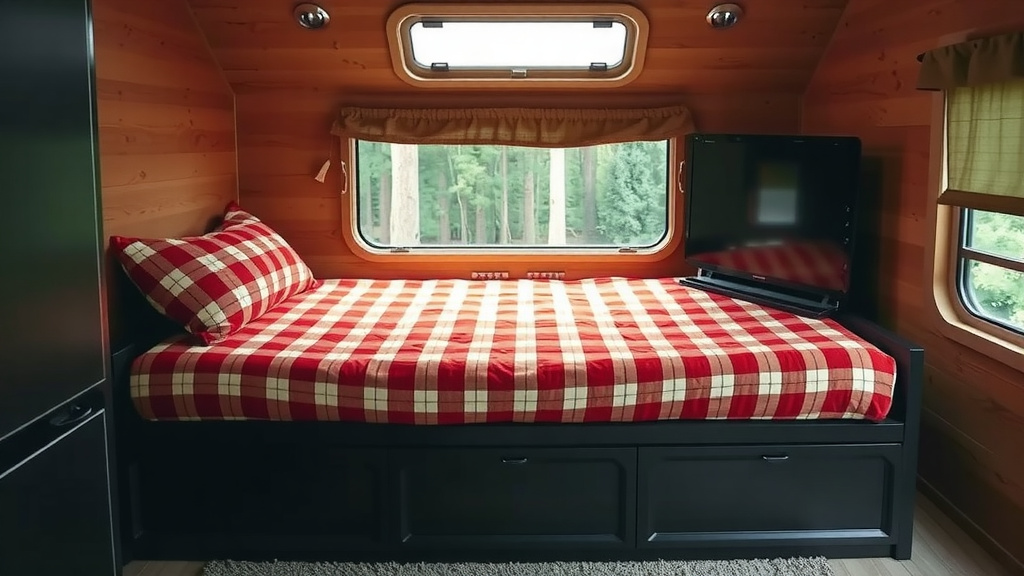
Building a sofa bed for a camper is easier than it sounds. The simplest approach is to build a frame from plywood, add a hinged backrest that folds flat, and top it with a standard foam mattress. That way, you get a couch by day and a bed by night, without losing half your camper.
We researched dozens of DIY builds and found that most people spend $150 to $300 on materials. Many experts say the biggest mistakes are skipping measurements and choosing foam that’s too thin. If you plan for both, your sofa bed will actually be comfortable to sleep on, not just something to sit on.
Here’s the short version before we get into the details:
- Measure your space first, then design your frame around it.
- Use 3/4-inch plywood for the base and backrest.
- Install hinges so the backrest folds down flat into a bed.
- Pick high-density foam, at least 4 to 5 inches thick.
- Give yourself a weekend to build it, and budget around $200.
Below, we break down everything you need to know about building a camper sofa bed, step by step. Grab a coffee, and let’s get started.
Planning Your Camper Sofa Bed Build
The fastest way to mess up this project? Skipping the planning. Most failed builds we found started with someone buying wood before measuring their space. Don’t be that person.
Start with your camper’s floor plan. Measure width, depth, and height of the spot where the sofa will live. Then ask yourself one big question: how many people will sleep here?
Measure Twice, Buy Once
Write down three numbers: the length you want the bed to be, the width, and the folded sofa depth. A typical camper sofa bed folds out to a small double, around 48 to 54 inches wide.
Remember, a twin mattress is 38 by 75 inches. If your space fits a twin, you’re in luck — standard bedding works. Anything custom means hunting for odd-size sheets, and nobody enjoys that.
Also check your walkway. You need at least 24 inches to squeeze past the sofa when it’s open. Squeeze any tighter and you’ll be doing the sideways crab shuffle every night.
Sofa Bed Styles That Work in Campers
You have three main options. Each folds a different way. Our guide to sofa bed folding mechanisms explains how each style opens and closes.
- Flip-back design: The backrest folds down flat. Easiest build, fewest parts.
- Pull-out drawer style: The bed slides out from under the seat. Great for narrow vans.
- Jackknife style: Seat and back fold together like a futon. Compact but fiddly.
For your first build, we found the flip-back design wins almost every time. Fewer hinges, fewer headaches, and it still gives you a full-length sleeping surface.
Materials and Tools You’ll Actually Need
Here’s the shopping list. Nothing exotic, nothing you can’t find at any big-box hardware store.
| Item | Quantity | Rough Cost |
|---|---|---|
| 3/4-inch plywood (4×8 sheet) | 1–2 sheets | $60–$110 |
| High-density foam, 4–5 inches | Bed-sized piece | $50–$100 |
| Piano hinge or butt hinges | 1–2 | $10–$20 |
| 2×2 or 2×4 lumber for supports | 4–6 pieces | $15–$25 |
| Screws, wood glue, stain or paint | Assorted | $30–$50 |
Total lands around $165 to $305, which lines up with what we mentioned earlier. For foam, look for a density of 1.8 pounds or higher. Cheaper foam feels great for a week, then flattens like a pancake.
Don’t Skip These Tools
You don’t need a fancy workshop. We found that most successful builds used just the basics:
- Circular saw or jigsaw (or ask the store to cut your plywood)
- Drill with driver bits
- Tape measure and level
- Sandpaper, 120 grit
- Staple gun if you’re upholstering
Pro tip: many hardware stores will cut plywood to size for free or a small fee. Take your measurements with you and let them do the scary part.
Building the Frame Step by Step
Now the fun part. Build the base first, then the backrest, then join them. Work slowly — wood is forgiving, but not that forgiving.
Step 1: Build the Base
Cut your plywood for the seat deck and screw 2×2 supports underneath around the edges. This keeps the plywood from sagging over time. Add legs or a solid box frame underneath, depending on whether you want storage below.
Sneaky storage is a camper builder’s best friend. Many DIYers we researched added a hinged top on the base for blankets and gear. That’s free real estate.
Step 2: Attach the Folding Backrest
Cut the backrest panel, then attach it to the base with a piano hinge along the back edge. A piano hinge spreads the load across the whole joint, so it holds up better than two or three small hinges.
Before final assembly, test the fold. The backrest should drop flat and line up level with the seat. If it doesn’t, sand or trim until it does. Lock it in with a hasp or hook latch so the back stays upright while you drive.
Step 3: Add Legs or a Support Panel
When folded flat, the backrest needs support at its far edge. Some builders add folding legs. Others build a fixed support panel that doubles as the sofa’s back cushion rest when upright. Either works — just make sure it can hold a person’s weight, which is roughly 200 pounds of concentrated point load per leg.
Choosing and Cutting Your Foam
Here’s where comfort lives or dies. Sleep experts generally recommend firm, supportive surfaces for good spinal alignment (NIH sleep health resources), and thin foam simply won’t cut it. Go with 4 to 5 inches of high-density foam, around 1.8 to 2.0 pounds per cubic foot.
Cut foam with a long serrated bread knife or an electric carving knife. Sounds weird, works great. Mark your line, cut slow, and keep the blade perpendicular. A wobbly cut means gaps you’ll feel all night.
Glue the foam to the plywood with spray adhesive made for foam. Then wrap the whole thing in batting before adding fabric — it softens the edges and hides any cutting sins.
Upholstery That Survives Camper Life
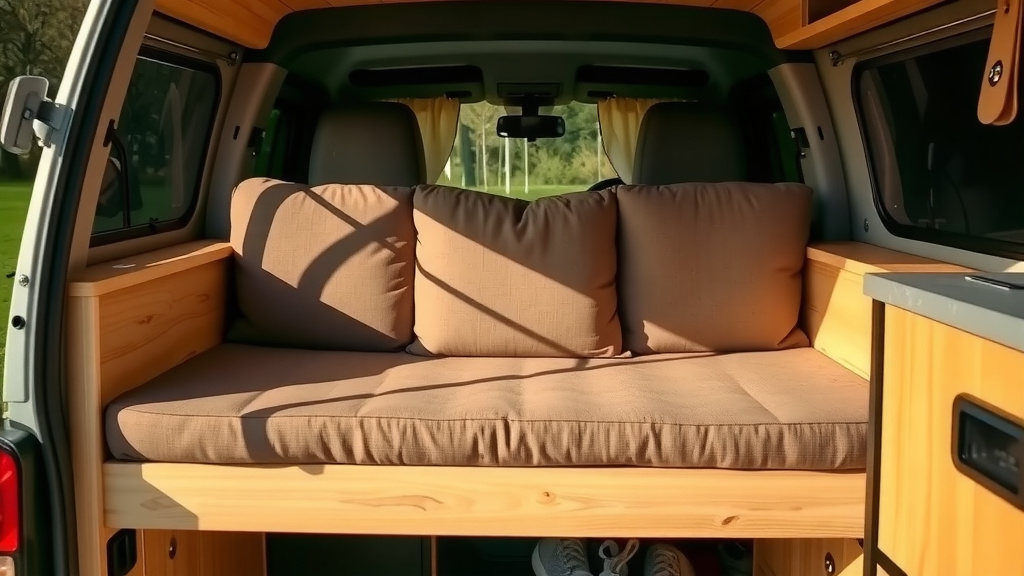
Campers are humid, bumpy, and occasionally inhabited by dogs. Pick fabric accordingly. We found that canvas, denim, or outdoor-grade fabric holds up best. Microfiber looks nice but shows every stain.
Staple fabric tight around your foam panels, like wrapping a present. Fold corners neatly, pull firm, and staple every two inches. If you can’t sew, use fabric iron-on hem tape for cushions. It’s honestly easier than threading a needle while parked on a hill.
Safety and Weight Checks Before You Hit the Road
Weight matters in a camper. Every pound you add comes off your cargo capacity, so keep your build lean. A plywood sofa bed typically weighs 60 to 100 pounds finished — plan for it.
Run through this checklist before your first trip:
- Backrest latch holds tight while driving
- All screws are sunk flush, nothing snaggy
- Folded bed is level, no sloping toward your face
- Edges are sanded smooth, no splinters
- Stain or paint is fully cured and aired out
- Total weight fits within your cargo limit
Also check ventilation. Trapped moisture under a mattress breeds mold fast, and mold brings health risks the CDC warns about for anyone with allergies or asthma. Drill a few 1-inch vent holes in the base or lift the mattress weekly to air out.
Common Mistakes and Easy Fixes
Everyone makes mistakes. Here are the ones we saw most, plus how to dodge them.
Wrong foam thickness. Anything under 4 inches and you’ll feel the plywood. Add a memory foam topper as a quick fix if it’s too late.
Forgetting the latch. An unsecured backrest flops open mid-drive. Cheap hasp latch, five-minute fix.
Ignoring the cushion gap. Where the seat meets the folded backrest, you’ll feel a seam. A hinge cover strip or thin foam bridge over the joint smooths it out. Many futon makers do exactly this.
And the big one: building before measuring. We’ve said it twice now because it ruins more builds than anything else combined. Measure first. You’ll thank yourself later.
Conclusion
Building a sofa bed for your camper comes down to a few smart choices. Measure your space before buying anything, keep your frame simple with a flip-back design, and don’t skimp on the high-density foam. Add a latch, check your weights, and give the whole thing time to air out before that first trip. We found that weekend builders who plan carefully end up with a couch and a bed for around $200 — far less than any store-bought RV sofa. Your next step? Grab a tape measure, write down your numbers, and sketch your frame tonight. Tomorrow, the lumber aisle awaits.
Frequently Asked Questions
Can a beginner really build a camper sofa bed without a workshop?
Yes, and we found plenty of first-timers who did it. If you can use a drill and a circular saw, you have the skills. Many hardware stores will cut your plywood for you, which removes the hardest part entirely.
How long does a DIY camper sofa bed last?
With solid plywood, quality hinges, and 1.8-pound-density foam, a well-built frame should last many years of regular use. The foam is usually the first thing to wear out, and replacing a foam pad costs far less than rebuilding.
Can I use a regular mattress instead of cutting my own foam?
You can, if the dimensions fit. A twin or RV-specific short mattress often works with a standard frame design. Just check the height, since a thick mattress changes how your backrest folds and how the sofa sits when upright.
How do I keep my sofa bed from sliding around while driving?
Screw the base directly to the camper floor or wall studs where possible. If you can’t anchor it, add L-brackets or rubber anti-slip pads under the legs. We also recommend the latch on the backrest — that’s your biggest driving-day risk.
Is it cheaper to build a sofa bed than buy an RV sleeper sofa?
Almost always. New RV sleeper sofas often run $600 to $1,500, while your DIY build should land between $150 and $300. The trade-off is your time — expect to spend a full weekend on it — but you also get a custom fit no store can match.