How to Build the IKEA Friheten Sofa Bed: Easy Guide
The easiest way to build a Friheten sofa bed is to attach the back frame, add the seat cushions, and fold out the sleeping surface. The whole job takes about 20 to 30 minutes with just the included Allen wrench. You don’t need fancy tools or a second pair of hands — although we won’t stop you from bribing a friend with pizza.
IKEA designed the Friheten to be simple on purpose, but the pictogram-only instructions can feel like a puzzle. We researched the process and found that most people hit a snag at the same spots, like attaching the corner brackets or figuring out which way the back cushion faces. Get those right the first time, and you’ll skip the classic move of taking it all apart again.
- The Friheten builds in about 20 to 30 minutes with basic hand tools.
- Lay out all parts first and count the screws before you start.
- Don’t fully tighten screws until the frame is square.
- The back cushions go in a specific direction — we’ll show you which way.
- The bed folds out from the front, so leave space around the sofa.
Below, we walk you through each step in plain English, so you can go from box to comfy couch without the headache. Let’s get building.
Assembling Your Friheten Sofa Bed Step by Step
Your Friheten arrives in two flat boxes and one set of pictogram instructions. The good news? It’s one of IKEA’s simpler builds. We found most people finish in under 30 minutes when they follow a clear order. Here’s that order.
Step 1: Unbox and Lay Everything Out
Open both boxes on a cleared floor. Spread the parts out like you’re setting up a game board. Trust us, this five minutes saves you twenty later.
Check that you have the Allen wrench, all screws, and the four corner brackets. We found the most common early mistake is a missing bolt discovered halfway through the build. Count your hardware now, not at step three.
Parts Checklist
Run through this quick list before you pick up a wrench:
- Back frame (the long, curved piece)
- Seat frame with storage box
- Four corner brackets
- Screws and bolts (count them against the manual)
- Seat and back cushions
- Allen wrench and sleeping surface pad
Step 2: Attach the Corner Brackets
This is where most people stall, so let’s take it slow. The brackets connect the back frame to the seat frame. Slide each one into the pre-drilled holes on the inside edges of the frame.
Here’s the trick we found works: loosen everything first, then tighten last. If you crank one bracket down tight, the frame won’t square up. Leave all screws about half-tight until all four brackets are seated. Then go back around and snug them up.
Think of it like tuning a guitar — you adjust all the strings a little before you finish any of them.
Step 3: Square the Frame
Before final tightening, check that the frame sits flat on the floor. Push gently on a corner. If it wobbles or twists, loosen the brackets and realign.
A square frame means the pull-out bed will slide smoothly later. Skip this check, and you’ll fight that folding mechanism every night. Many IKEA troubleshooting forums point to an uneven frame as the number one cause of a sticky pull-out.
Step 4: Install the Sleeping Surface
The sleeping pad folds up inside the seat frame. Slide it into its track and make sure it’s fully seated. It should rest flush against the frame when folded.
Pull the strap or handle at the front and let the surface unfold once, just to test it. Does it glide? Great. Does it catch? Go back and re-square the frame.
Step 5: Add the Cushions (The Right Way)
The back cushions are not symmetrical, and this is step two of the classic Friheten head-scratchers. The zipper side faces down and back, hidden from view. If your zippers stare at you from the front, flip the cushions around.
Velcro strips inside the frame hold the back cushions in place. Press firmly along the bottom edge. We found that people who skip this end up with cushions that slide down like tired toddlers by the end of the week. If the Velcro alone isn’t enough, our guide to stop sofa cushions from sliding covers more fixes.
Step 6: Test the Fold-Out Bed
Now for the payoff. Clear the area in front of the sofa — you need about four to five feet of open space. Grab the front of the seat section and pull toward you. The back of the frame tilts, and the sleeping surface unfolds flat.
It should move in one smooth motion. If it hesitates, check that the storage box inside the seat frame is empty. Yes, the Friheten hides storage under the seat, and a rogue remote can jam the mechanism.
Setting Up the Bed for Sleeping
Once flat, the pad covers the sleeping surface. Smooth it out and add your own linens. The sleep surface measures roughly 54 by 79 inches, close to a full-size mattress. Mayo Clinic sleep guidance notes that a supportive, flat surface helps reduce nighttime discomfort, so make sure the pad lies flat with no bunching.
Step 7: Position and Final Checks
Slide the assembled sofa into its final spot before you fully commit to tightening everything. Two people can carry the frame once it’s together, though it weighs a fair bit — lift with your legs, not your back. The CDC offers safe-lifting guidance worth a quick read if you’ve never moved furniture before.
Once it’s placed, do one last pass:
- Tighten all brackets and screws fully
- Wiggle the back frame — it should feel solid
- Fold the bed out and back in twice
- Check cushion velcro is pressed down
- Confirm the sofa sits level on the floor
- Toss the packaging and admire your work
Tips That Make the Build Easier
These aren’t in the manual, but we found they matter.
Work on a Rug or Blanket
Hardwood floors and metal frames don’t mix. A blanket under your workspace prevents scratches on both the floor and the parts. Cheap insurance, we promise.
Don’t Over-Tighten the Screws
Particleboard strips out screws easily. Snug is the goal, not muscle-buster tight. When the Allen wrench stops turning easily, stop. If you ever disassemble the sofa for a move, over-tightened screws are the ones that break.
Use the Storage Box Early
Once you finish, that hidden storage under the seat is perfect for spare bedding, blankets, or board games. Load it up — just remember to empty it before folding the bed out. One cushion of storage space is a genuinely nice perk of this model.
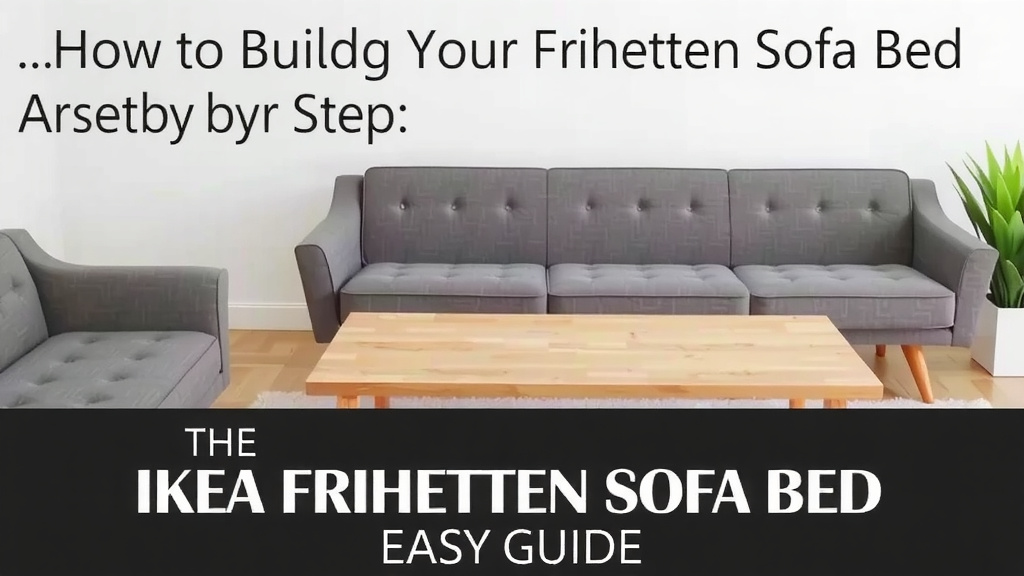
Common Friheten Assembly Problems and Fixes
Stuck somewhere? Here’s a quick reference table of the snags we found people hit most often.
| Problem | Likely Cause | Fix |
|---|---|---|
| Frame wobbles | Brackets not squared | Loosen all four, realign, retighten evenly |
| Bed won’t fold out smoothly | Items in storage box | Empty the seat frame storage |
| Back cushions slide down | Velcro not pressed | Lift cushions and press firmly along bottom edge |
| Zipper cushions show | Cushions facing wrong way | Flip so zippers face down and back |
| Extra screws left over | Missed bracket holes | Recheck inside edges of both frames |
One last note: if a part arrives damaged or cracked, stop and call IKEA. They’re known for replacing individual parts free, so there’s no need to improvise with duct tape. You’ve come this far — finish it right.
Conclusion
Building your Friheten sofa bed comes down to a few key moves: lay out every part first, keep the screws loose until the frame squares up, and point those back cushion zippers down and away. Get those right, and the fold-out bed should glide like it does in the showroom. We found that most build problems trace back to rushing the bracket step or skipping the wobble check. Take your time on those, and you’ll have a sofa that doubles as a guest bed for years. Your next step? Fold the bed out one more time, load the storage box with spare bedding, and text your out-of-town friends — you’ve got room for them now.
Frequently Asked Questions
Can one person build the Friheten sofa bed alone?
Yes, most people can handle the full build solo since the frames are manageable during assembly. The only tricky moment is moving the finished sofa into place, since it weighs quite a bit once assembled. If you can, recruit a second person just for that final repositioning step.
What tools do I need to assemble a Friheten?
Nothing beyond the Allen wrench that comes in the box. Some people like to use their own ratchet-style Allen key for speed, but it’s optional. A blanket or rug under your work area also helps protect your floors and the furniture finish.
Does the Friheten fit through doorways while boxed?
The two flat-pack boxes are designed to fit through standard US doorways, which is why IKEA ships it that way. Measure your tightest hallway or stairwell before delivery day, though. If you’re navigating narrow stairs, carry the boxes on end rather than flat.
Can I disassemble the Friheten if I move apartments?
You can, and it’s one of the reasons the design works well for renters. Reverse the build order carefully and avoid stripping the screws — particleboard doesn’t forgive repeat reassembly. Keep the original boxes if you can, since they protect the frames in transit.
Should I anchor the Friheten to the wall?
Anchoring isn’t required for stability with this model, but it’s smart if you have small kids or pets who climb. IKEA sells inexpensive wall anchor kits that work with the Friheten’s back frame. Better a small hole in the wall than a tipped sofa.