How to Build Your Own Sectional Sofa: A Step-by-Step Guide
To build your own sectional sofa, start by picking a layout, building separate corner and armless seat modules, then connecting them with braces and fabricating matching cushions. The easiest approach is a modular design, where each section is built as its own small sofa and then joined together. If you’ve never built one before, our guide to how to build a basic sofa from scratch covers the fundamentals first.
Why go DIY? A custom sectional can cost a fraction of a store-bought one, and you get to choose the exact size, fabric, and shape that fits your room. We researched popular DIY sofa plans and found that most beginners can finish one in a weekend or two with basic tools like a drill, saw, and staple gun. Many experts say plywood and 2x4s are the go-to materials because they’re cheap and strong. Sounds better than a $3,000 price tag, right?
Here’s the quick version:
- Measure your space and sketch your sectional layout first.
- Build each seat module (corner and armless pieces) from plywood and 2x4s.
- Attach the modules together so they stay put as one unit.
- Add foam cushions and upholster each section in your chosen fabric.
- Arrange, sit down, and enjoy the fact that you built it yourself.
Below, we break down everything you need to know about building your own sectional sofa, step by step, so you can start with confidence.
Building a Sectional Sofa Step by Step
Building a sectional comes down to five phases: plan, cut, build, connect, and upholster. Do them in order and you’ll avoid the classic mistake of building first and measuring never. We found that DIYers who skip the planning phase end up buying more plywood than they need — sometimes twice as much.
Phase 1: Plan Your Layout and Take Measurements
Start by measuring your room. Write down the length, width, and any obstacles like heating vents, outlets, or doorways. Then sketch your sectional on paper. Even a rough drawing saves you hours of frustration later. For exact numbers to sketch with, our guide on how to measure a corner sofa walks through each dimension.
Most sectionals follow one of three shapes. Pick the one that matches your room before you buy anything.
- L-shape: Two runs of seats meeting at a corner. Best for corners of a room.
- U-shape: Three runs of seats. Great for big families and movie nights.
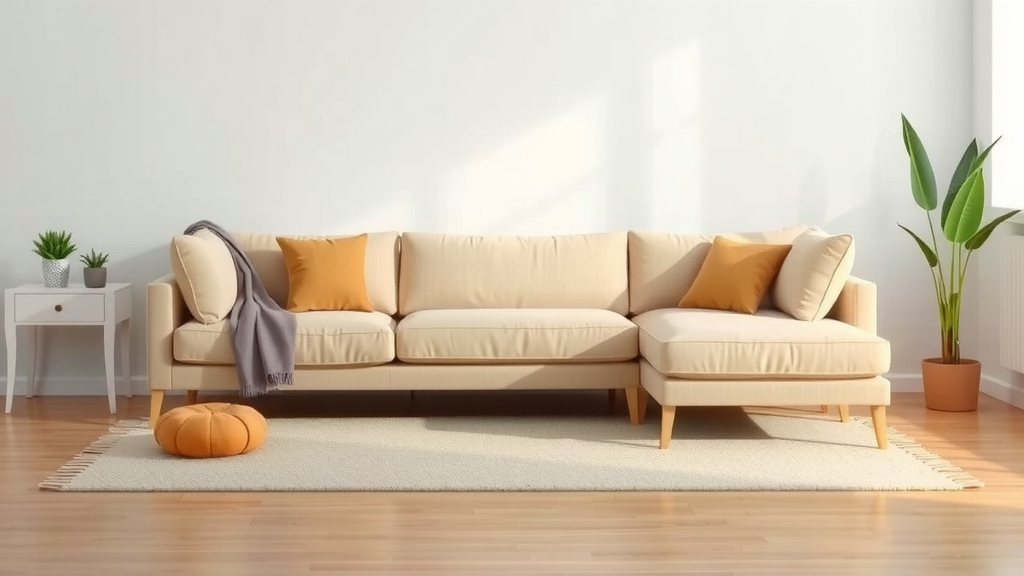
- Chaise style: A standard run plus one extended seat for stretching out.
Here’s a helpful starting point for seat sizing that we found in popular DIY plans:
| Part | Typical Size (W x D x H) | Notes |
|---|---|---|
| Armless seat module | 24″ x 33″ x 30″ | Your building block; repeat as needed |
| Corner module | 33″ x 33″ x 30″ | Joins two runs at a right angle |
| Seat cushion (foam) | 23″ x 27″ x 4–5″ | High-density foam, 1.8 lb or higher |
| Back cushion (foam) | Varies x 4–5″ thick | Softer foam works fine here |
Phase 2: Gather Tools and Materials
You don’t need a fancy workshop. We found that most plans call for tools you may already own or can borrow. Expect to spend $150–$400 total depending on fabric choice — a far cry from showroom prices.
Your DIY Checklist
- Tools: Drill, circular saw, tape measure, staple gun, level.
- Lumber: 3/4″ plywood for panels, 2x4s for frames.
- Fasteners: 2.5″ wood screws and wood glue.
- Comfort layer: High-density foam cushions.
- Upholstery: 3–6 yards of fabric per module, depending on size.
- Finishing touches: Sandpaper and furniture feet or casters.
Phase 3: Build Each Seat Module
Think of each module as a mini sofa. Build the frame first, then add the deck, then the back. Work on one module at a time so mistakes don’t multiply.
Framing the Base
Cut your 2x4s to length and screw together a rectangle for the base. Add a center support if the span is over 24 inches. Screw 3/4″ plywood on top for the seat deck. It should feel solid when you press on it — no wobble, no creaks.
Adding the Backrest
Cut a plywood back panel and attach it to the rear edge at a slight angle, around 100–110 degrees. A perfectly vertical back feels stiff; a small lean feels right. Attach a 2×4 across the top edge as a cleat for the back cushions later.
Phase 4: Connect the Modules
Here’s the trick that makes a sectional behave like one sofa: connector hardware. We found that most builders use either interlocking sofa connectors (cheap, at any hardware store) or bolted brackets hidden under the seats.
Screw one half of each connector to the side panel of module A, and the matching half to module B. Line them up, push the modules together, and they click or bolt into place. Now your sectional won’t drift apart every time someone flops down.
For a more permanent build, you can lag-bolt modules through their side panels. Just remember: the corner module is your anchor. Get it level and square first, then work outward from it.
Phase 5: Cushions and Upholstery
Cushions are where comfort is won or lost. Many experts say to use high-density foam rated at 1.8 pounds or more for seats, since lower-density foam flattens within a year or two (Good Housekeeping and upholstery trade guides agree on this). Buy foam slightly larger than your seat deck and compress it with fabric for a snug, tailored look.
Wrapping the Foam
Wrap each foam piece in a layer of batting or Dacron before covering it. This softens the edges and hides the “box” look. Spray adhesive holds it in place — two quick spritzes is plenty.
Upholstering the Frames
Cut fabric panels with about 3 extra inches on every side. Start stapling from the center of each edge, working outward, and pull the fabric taut as you go. Corners get pleated like wrapping a gift — fold, tuck, staple. Nobody sees the underside, so don’t stress about perfection there.
If sewing makes you nervous, start with the simplest option: a fitted slipcover-style cover with no piping or welt seams. You can always upgrade later.
Common DIY Sectional Mistakes (and Easy Fixes)
Avoid these and your build goes twice as smoothly. We found these patterns repeated across nearly every DIY forum thread and plan review we researched.
- Wrong foam density: Cheap foam sags fast. Spend the extra $20 per cushion.
- Skipping the level check: An unlevel corner module throws off every module after it.
- Over-tightening screws: Plywood splits easily. Snug is enough.
- Buying fabric last: Fabric yardage affects module size — decide early.
- No access for moving: Build modules small enough to fit through your doorway.
That last one sounds funny until it happens to you. Measure your doorways and stairwells before you cut a single board. Your future self (and your helper friends) will thank you.
Comfort, Safety, and Finishing Tips
Before the big sit-down test, run a quick safety pass. Sand every sharp edge, countersink or cap any exposed screws, and check that nothing protrudes at shin height. Small splinters and snag points are the top complaints we found in beginner build reviews.
For comfort, aim for a seat height between 17 and 19 inches from the floor to the top of the cushion — that range works for most adults, according to furniture design guides. Deeper seats (25″+) feel loungey; shallower ones (22″) suit smaller rooms and easier standing up.
Finally, protect your work. A fabric guard spray adds stain resistance, and felt pads under the feet protect your floors. Then arrange your sectional, connect everything, toss on the cushions, and take that first well-earned seat. You built that.
Conclusion
Building your own sectional sofa comes down to five phases: plan, cut, build, connect, and upholster. Get the corner module level and square first, use high-density foam for cushions, and pick connector hardware so everything stays put. We found that the biggest wins come from measuring your space and doorways before you ever touch a saw — and from spending a little extra on quality foam. You don’t need a workshop or expert skills, just patience and a weekend or two. Ready to start? Grab your tape measure, sketch your layout, and cut your first 2×4 this weekend.
Frequently Asked Questions
How long does it take to build a DIY sectional sofa?
Most beginners we researched finished a two-module sectional in one or two weekends. If you add a third module or more, plan for an extra day. Upholstery usually takes longer than the frames themselves.
What wood is best for a homemade sectional?
Pine 2x4s for the frame and 3/4″ plywood for decks and back panels are the standard combo. Pine is affordable and holds screws well. Avoid MDF for structural parts — it sags under weight.
Can I build a sectional without a circular saw?
Yes. Many home improvement stores will cut plywood and 2x4s to size for you, often for free or a small fee. Bring your cut list with you and you can skip sawing entirely.
How do I clean and maintain a DIY upholstered sectional?
Vacuum it weekly with an upholstery attachment and blot spills right away with a damp cloth. A fabric guard spray applied after building adds a layer of stain protection. Removable slipcovers make deep cleaning much easier.
Is it cheaper to build or buy a sectional sofa?
In our research, DIY builds typically ran $150–$400 in materials, while comparable store-bought sectionals often start around $1,000 or more. Your savings grow with size. The tradeoff is your time and labor.
Can I add more modules to my sectional later?
That’s the beauty of modular design. As long as you keep your seat height and depth consistent, you can build matching armless modules anytime and connect them with the same hardware. Just buy extra fabric from the same dye lot if you can.