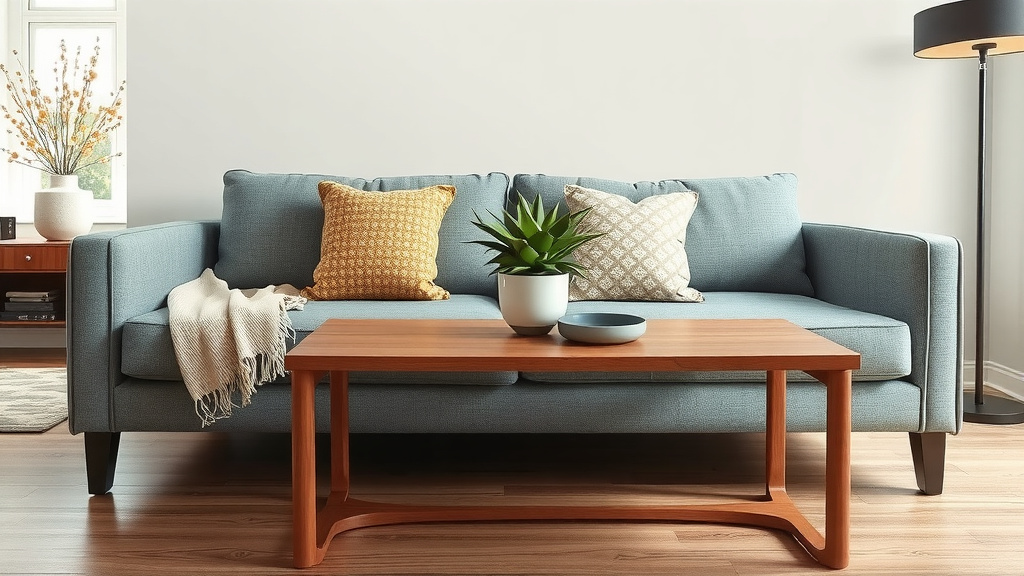
How to Build a Simple Sofa Table: Easy DIY Guide November 2026
The easiest way to build a simple sofa table is to cut four boards for the top, attach four legs, and add a lower shelf for support. You only need a saw, a drill, wood glue, and screws. That’s it. Most people we found finished their build in a single weekend afternoon.
Why a sofa table? It’s that slim table that sits behind your couch, perfect for lamps, drinks, or your ever-growing pile of unread mail. We researched dozens of DIY plans and found that beginner-friendly designs use basic lumber from any big-box store. No fancy joinery, no $500 budget, and honestly, no reason to feel intimidated.
Here’s the quick version before we get into the details:
- Gather simple tools: a saw, drill, measuring tape, and sander.
- Use standard pine or poplar boards to keep costs low.
- Cut the top, legs, and shelf to size before assembly.
- Glue and screw everything together, then reinforce the corners.
- Sand, stain or paint, and seal for a finish that lasts.
Below, we break down everything you need to know about building a simple sofa table, from your shopping list to the final coat of finish. Grab your tape measure, and let’s get started. Your couch will thank you.
Building a Simple Sofa Table Step by Step
Building a simple sofa table comes down to four steps: cut your boards, attach the legs, add a shelf, and finish the wood. We found that most beginners can do all four in about four to six hours. The trick is to measure twice and cut once — it sounds cliché, but it saves real money.
Think of it like making a sandwich. The top is your bread, the legs are your fillings, and the shelf is the napkin holding everything together. Once you see the parts that way, the whole project feels a lot less scary.
Your Shopping List and Cut List
You can build this table with standard boards from any hardware store. We found that pine is the cheapest option, usually under $40 for everything. Poplar costs a bit more but stains nicer.
Here’s a sample cut list for a table that’s about 48 inches long, 14 inches deep, and 30 inches tall:
| Part | Board Size | Quantity | Finished Dimensions |
|---|---|---|---|
| Tabletop | 1×12 pine | 2 | 48″ x 14″ x 3/4″ |
| Legs | 2×3 pine | 4 | 29-1/4″ long |
| Lower shelf | 1×8 pine | 1 | 45″ long |
| Side aprons | 1×4 pine | 2 | 11″ long |
Ask the store to make your cuts if you don’t own a saw. Most big-box stores will do the first few cuts free. That alone removes half the work for a beginner.
Tools and Safety Gear You’ll Need
Keep your tool list short. Borrow what you don’t have, and buy the rest as you go.
- Drill with driver bits and 2-1/2″ wood screws
- Measuring tape and a carpenter’s pencil
- Orbital sander with 120 and 220 grit sandpaper
- Wood glue and a corner clamp (or a friend with strong arms)
- Safety glasses and a dust mask
- Level and a speed square
Don’t skip the glasses and mask. Sanding kicks up fine dust, and many safety guides warn that wood dust can irritate your lungs and eyes (CDC). A $10 pair of glasses beats a trip to urgent care every time.
Cutting Your Boards the Right Way
Cutting comes first because every other step depends on it. If your cuts are off, the whole table wobbles like a folding chair at a wedding. Slow down here and the rest goes smooth sailing.
Measuring Tips That Save Wood
Measure from the long edge of the board, not the end. Board ends are rarely square, especially on budget lumber. Mark your line with a speed square so it stays straight.
Label each piece with pencil as you cut: “leg,” “shelf,” “top.” We found that mix-ups happen more often than you’d think. One DIYer we read about built a table with three matching legs and one very confident fourth leg. Labels fix that.
Making Clean Cuts as a Beginner
A circular saw works fine for this project. Set the blade depth to just barely cut through the board. Support both sides of the cut so the wood doesn’t pinch the blade and kick back.
If sawing makes you nervous, practice on a scrap piece first. Many experts say that a test cut on scrap builds confidence faster than any YouTube video. Your table pieces will thank you for the rehearsal.
Assembling the Table Without Headaches
Assembly is where your pile of boards becomes actual furniture. The order matters: legs first, then aprons, then the shelf, then the top. Work on a flat surface like a garage floor or driveway.
Attaching the Legs
Lay one leg flat and hold an apron against it. Drill two pilot holes, add a dab of wood glue, then drive the screws. Pilot holes matter — without them, pine splits faster than a campfire log.
Do all four corners the same way. Then stand the base up and check it with your level. A little wobble now is fixable. A wobble after the top goes on means starting over.
Keeping Everything Square
Measure diagonally from corner to corner, both directions. When the two numbers match, your base is perfectly square. If they don’t, gently push the long diagonal until they do. This one check separates sturdy tables from sad, rocking ones.
Adding the Lower Shelf
Set the shelf about 4 inches off the ground. It keeps the legs from bowing outward and gives you bonus storage for books or baskets. Glue and screw it to each leg with two screws per side.
Flip the base over and attach the top last. Drive screws up through the aprons into the underside of the tabletop. Never screw down through the visible top — your future self will notice those holes every single day.
Finishing Touches That Make It Last
Finishing is the step most builders rush, and it shows. A good finish protects your wood from water rings, scratches, and that one relative who sets a hot mug down without a coaster. Give it a real afternoon.
Sanding and Staining
Start with 120-grit sandpaper to knock down rough spots, then switch to 220-grit for a smooth feel. Always sand with the grain, never across it. Cross-grain scratches show up like highlighter under stain.
Wipe the dust off with a slightly damp rag, let it dry, then apply stain with a cloth. Wipe off the extra after five minutes. Two thin coats beat one thick, sticky one every time.
Sealing Against Everyday Wear
A clear polyurethane topcoat is your table’s armor. Use two or three thin coats, sanding lightly between each. Many finishing guides suggest water-based poly for indoor furniture because it dries fast and clears without a strong odor (EPA).
Let the finish cure for a few days before heavy use. It feels dry in hours, but full hardness takes longer. While you wait, measure your couch and dream about where the lamp goes.
Final Pre-Party Checklist
Before you slide that table behind the couch, run through this quick list:
- All screws tightened and no wobble when you push a corner
- Tabletop level with no rocks or rattles
- Every surface sanded smooth — run your hand over it to check
- Stain dry to the touch with no sticky patches
- Two to three coats of sealer applied and cured
- Felt pads on the bottom of each leg to protect your floors
That’s it. You built real furniture with your own two hands, and it didn’t cost half a paycheck. Now go put something pretty on it — or, let’s be honest, a stack of mail. We won’t judge.
Conclusion
Building a simple sofa table is one of those rare projects where low cost meets real payoff. You gather a handful of pine boards, make careful cuts, glue and screw four legs into a square base, add a shelf, and finish with sanding, stain, and sealer. Most builders we researched wrapped it up in a single afternoon, and the whole thing usually stays under $40. The finished table won’t just hold lamps and keys — it proves you can make furniture yourself. Your next step is easy: sketch your dimensions, head to the lumber aisle, and ask for those free cuts. Then start building.
Frequently Asked Questions
How long does a sofa table need to be for behind a couch?
Most standard couches run between 72 and 96 inches wide, so a table between 48 and 60 inches works well for most rooms. You want it long enough to be useful but short enough that it doesn’t block walkways on either side. We suggest measuring your couch before buying boards — a 10-second measurement beats a table that crowds your space.
Can I build a sofa table without any power tools?
Yes, but it takes more patience. A hand saw can cut every board on the list, and a screwdriver works in place of a drill, though pilot holes become much more important by hand. If cutting by hand sounds exhausting, most home improvement stores will cut your boards to size for little or no charge.
What type of wood is best for a beginner sofa table?
Pine is the go-to choice because it’s cheap, widely available, and forgiving to work with. Poplar costs a little more but takes stain more evenly, which matters if you want a darker finish. We recommend skipping hardwoods like oak for your first build — save them for project number two.
How much weight can a DIY sofa table hold?
A well-built pine table like this comfortably handles lamps, books, and decor without issue. The lower shelf and aprons do the heavy lifting by keeping the legs from flexing. If you plan to lean on it or sit heavy items on top, adding metal corner brackets inside the aprons is a cheap way to stiffen everything up.
Should I paint or stain my DIY sofa table?
It depends on the look you’re after and how patient you are. Stain shows off the wood grain but highlights any sanding mistakes, while paint hides imperfections and covers cheaper lumber nicely. Many first-time builders we read about chose paint for exactly that reason — then switched to stain once their skills improved.