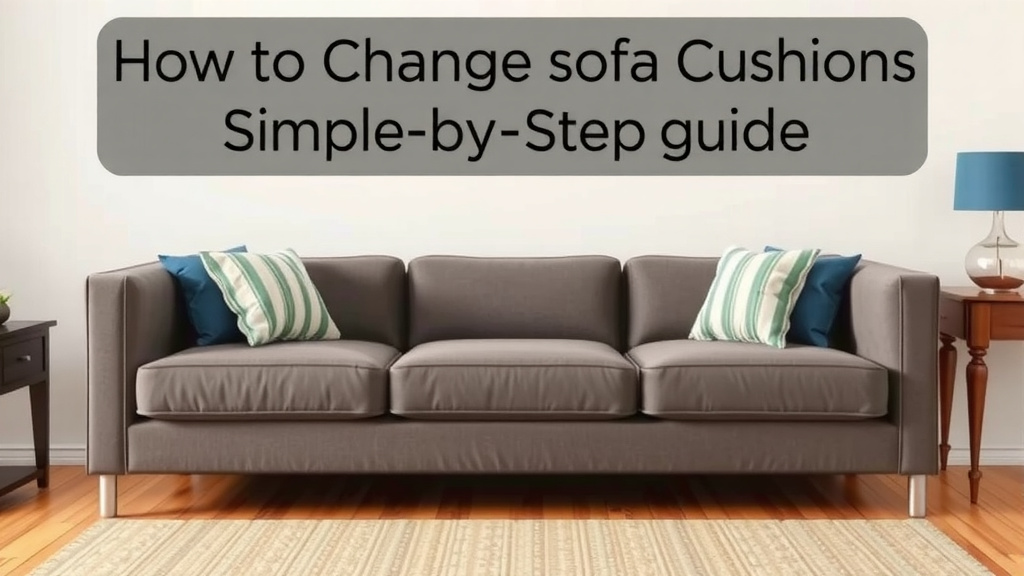
How to Change Sofa Cushions: A Simple Step-by-Step Guide
The easiest way to change sofa cushions is to unzip the cushion covers, slide out the old inserts, and slip in new ones of the same size. If your cushions are sewn shut, you’ll open the seam with a seam ripper, swap the insert, and stitch it back up. Most people finish in under an hour.
Maybe your cushions have gone flat, saggy, or lumpy from years of movie nights. Swapping in fresh foam inserts can make an old sofa feel brand new again. We researched the most common methods and found that replacing the inserts, not the whole sofa, saves the most money. Many experts say this is one of the simplest DIY furniture fixes out there.
- Check your cushion type — zippered covers are the easiest to work with.
- Measure your old inserts before buying new foam or fiberfill.
- Unzip or unseam the cover, then remove the worn insert.
- Insert the new cushion and match its shape to the cover.
- Sew or zip it back up and fluff it into place.
Ready to give your sofa a second life? Below, we break down everything you need to know about changing sofa cushions, step by step.
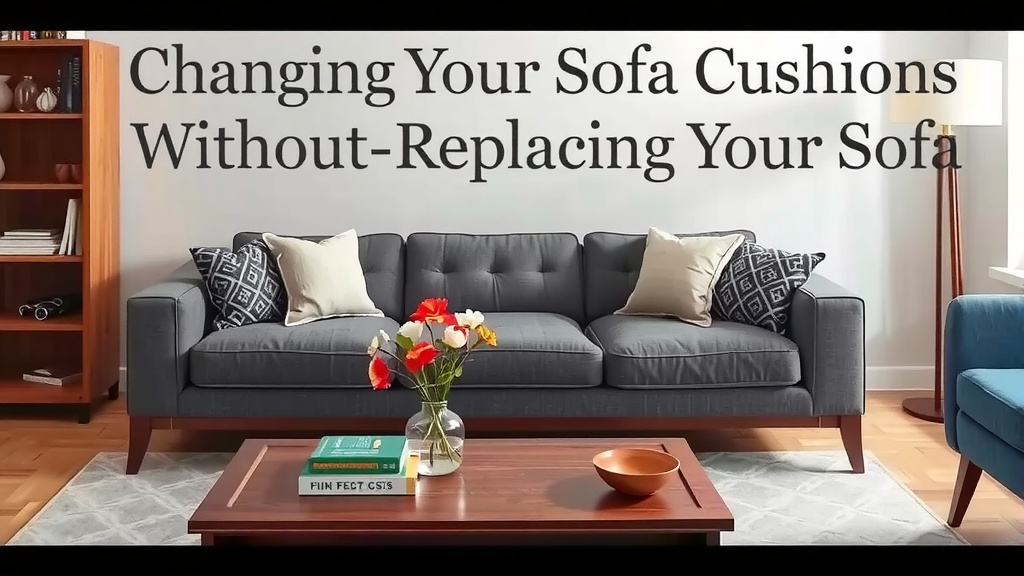
Changing Your Sofa Cushions Without Replacing the Sofa
The simplest method is to swap the old inserts for new ones. Keep the covers, keep the frame, and only replace what’s worn out. That’s it. Most inserts cost a fraction of what a new sofa costs, and many people report their “old” couch feels brand new afterward.
Before you buy anything, you need to know what’s inside your cushions. We found that this one step trips up more people than any other part of the project.
What You’ll Need Before You Start
Gather your supplies first so you’re not wandering around the house with a half-open cushion. Here’s what we recommend having on hand:
- Seam ripper for sewn-shut covers
- Fabric scissors for trimming foam to size
- Measuring tape (a cloth one works best)
- Spray adhesive if you’re rebuilding a wrapped foam insert
- Needle and heavy-duty thread for closing seams
- A vacuum for cleaning out the empty covers
That last item matters more than you’d think. Empty cushion covers collect dust, crumbs, and years of mystery debris. Mayo Clinic recommends washing bedding and fabric in hot water to control dust mites, and cushion covers deserve the same treatment if the care label allows it. For a deeper refresh, our step-by-step guide to washing sofa covers explains how to read the care label first.
Picking the Right Foam for Your Cushions
Not all foam is created equal. The firmness and density you choose will decide whether your sofa feels like a cloud or a park bench. Many furniture makers use high-density foam for seat cushions and softer material for back cushions.
We found that most experts suggest high-density foam for seats you use every day. Softer, lower-density options work fine for cushions that get lighter use, like an accent chair.
| Foam Type | Best For | Feel | Lifespan |
|---|---|---|---|
| High-density foam | Daily-use seat cushions | Firm, supportive | 7–10+ years |
| Medium-density foam | Occasional seating | Balanced | 5–7 years |
| Fiberfill / down blend | Back cushions | Soft, squishy | 3–5 years |
| Memory foam topper layer | Comfort boost on firm foam | Conforming | Varies |
Research published through NCBI has looked at flame retardants in older furniture foam, and this is one reason some people prefer buying newer foam that meets current standards. It’s a quiet bonus of this project: fresher materials inside your home.
Foam vs. Fiberfill: Which Should You Buy?
Match the material to what’s already inside. If your old insert is a solid foam block, buy foam. If it’s a puffy, bag of loose stuffing, buy fiberfill. Mixing the two usually leaves you with a cushion that behaves strangely.
Not sure what you have? Reach inside the cover and squeeze. Foam feels like a firm sponge. Fiberfill feels like a stuffed animal.
Measuring Cushions So the New Ones Actually Fit
Measure the old insert, not the cover. The cover adds bulk, and if you measure it, your new insert will be too big to slide in. Trust us on this one.
Measure the insert’s length, width, and thickness while it’s flat. If the old insert has gone pancake-flat, measure the cover’s seam-to-seam length and width instead, then subtract about half an inch from each side.
Getting the Thickness Right
Thickness is where most mistakes happen. Too thick, and the cover strains at the seams. Too thin, and the cushion looks deflated.
Squeeze the old cover flat and measure that distance. That’s your target thickness. If you’re between sizes, going slightly thicker is usually better than thinner, since foam compresses a bit over time.
Swapping Inserts in Zippered Cushion Covers
This is the easy version, and we recommend starting here if you have a choice. Unzip the cover, pull out the old insert, and set it aside for measuring.
Foam can cling to the cover’s interior, especially after years of friction. Don’t yank it. Peel it away slowly, like removing a sticker from glass.
Working the New Foam Into Place
New foam is stiff, and stiff foam does not love tight corners. Here’s the trick many upholsterers use:
- Compress the foam with your forearm as you feed it in.
- Insert one corner first, then work around the edges.
- Stand on the foam gently with clean hands to squash it flat.
- Guide the cover up and over the compressed foam.
Some people put the foam in a large plastic bag, compress it, insert the bagged foam, then rip the bag away once the cover is on. It sounds odd. It works.
Handling Cushions That Are Sewn Shut
No zipper? No problem. You’ll open a seam, swap the insert, and sew it back. It adds maybe twenty minutes to the project.
Look for the seam with the straightest, tightest stitching. That’s usually the manufacturer’s closing seam, and it’s the best one to reopen.
Opening and Reclosing the Seam
Run your seam ripper along every third or fourth stitch rather than every single one. This keeps the fabric from fraying and makes the seam easier to resew.
When you’re done, close the gap with a ladder stitch (sometimes called an invisible stitch). It pulls the two fabric edges together so cleanly that nobody will ever know you opened it.
Hand-Stitching Tips for Beginners
Use doubled thread and a curved upholstery needle if you can find one. The curve helps you grab fabric from inside the seam. Tie a knot at the end, take small bites of fabric on each side, and pull tight every few stitches.
Nervous about your stitching? Flip the cushion so the repaired seam faces the back of the sofa. Problem solved.
Refreshing Cushions You’re Keeping
Not every cushion needs a full replacement. Sometimes a little TLC buys you another year or two.
If your inserts are still decent but look sad, try this: unzip the covers, pull out the inserts, and let them air out in the sun for a few hours. Sunlight and fresh air do wonders for flattened fiberfill.
You can also add a layer of memory foam on top of an existing foam insert for extra comfort. It’s a popular trick we found mentioned again and again in upholstery forums.
Your Pre-Project Checklist
Before you order foam or start ripping seams, run through this quick list:
- ✔ Identify whether your inserts are foam or fiberfill
- ✔ Measure insert length, width, and thickness (write it down)
- ✔ Check covers for zippers or sewn seams
- ✔ Vacuum or wash the covers if the label allows
- ✔ Order foam slightly smaller than the cover, not bigger
- ✔ Grab a seam ripper, needle, and heavy thread just in case
Mistakes to Avoid When Changing Cushions
We found a few common slip-ups that turn a one-hour job into a weekend headache:
- Measuring the cover instead of the insert. You’ll end up with foam that won’t fit.
- Buying the cheapest foam available. Low-density foam sags within a year.
- Rushing the foam into the cover. Tear the fabric and you’re shopping for covers too.
- Sewing the seam shut with regular thread. It snaps under pressure. Use heavy-duty thread.
Skip these, and you’ll be sinking into a plump, supportive sofa by dinnertime. Go ahead, put your feet up. You’ve earned it.
Conclusion
Changing your sofa cushions is one of those rare home projects that’s cheap, quick, and genuinely satisfying. You’ve learned how to identify what’s inside your inserts, measure them correctly, and swap in fresh foam or fiberfill. You know how to handle both zippers and sewn-shut seams. And you know which mistakes to sidestep along the way. For a fraction of the cost of a new sofa, you can bring back that firm, comfortable feel your couch had on day one. So here’s your next step: flip a cushion over tonight and check for a zipper. That two-second peek tells you exactly how easy your project will be.
Frequently Asked Questions
How much does it cost to replace sofa cushion inserts?
Most people spend between $20 and $100 per cushion, depending on the foam density and size. Back cushions cost less since they usually use softer filling. Compare that to hundreds or thousands for a new sofa, and the savings are hard to beat.
How long do sofa cushions last before they need replacing?
It depends on the filling and how often you sit on them. High-density foam can hold up for a decade, while fiberfill often flattens within three to five years. If your cushions stay compressed after you stand up, that’s your cue to swap them out. Our guide to sofa cushion lifespan breaks down what to expect from each filling type.
Can I cut foam myself to fit my cushion covers?
Yes, and it’s easier than it sounds. Mark your cut lines with a permanent marker, then use an electric carving knife or a sharp serrated knife with long, smooth strokes. Measure twice before cutting, since foam can’t be glued back once it’s gone.
What firmness of foam is best for sofa seat cushions?
Research and upholstery guides consistently point to firm, high-density foam for seats you use daily. Softer foam feels cozy at first but breaks down quickly under regular weight. If you want a middle ground, pair firm foam with a thin memory foam layer on top.
Is it worth replacing sofa cushions or should I just buy a new sofa?
If your sofa frame is sturdy and the fabric is in decent shape, replacing the inserts almost always wins. New inserts cost a small fraction of a new couch and take about an hour to install. Save the new-sofa budget for when the frame itself starts to wobble or sag.