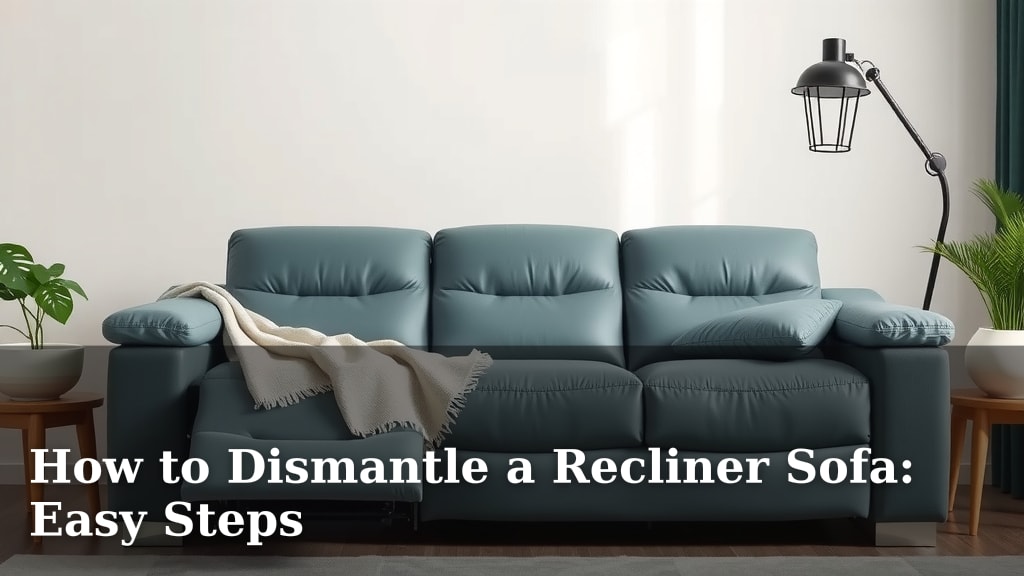
How to Dismantle a Recliner Sofa: Easy Steps
Dismantling a recliner sofa is more manageable than you might think. The easiest way to do it involves disconnecting the major sections first, followed by removing the reclining mechanisms. You can typically separate the backrests and seat cushions, then tackle the frame and mechanical parts.
This process is often necessary for moving, disposal, or even repairs. We found that most recliner sofas are designed with disassembly in mind, making the task less daunting. Understanding the basic structure will help you identify how the pieces fit together and come apart.
- Start by removing cushions and backrests.
- Look for connection points, often hidden.
- Disconnect the reclining mechanism linkages.
- Separate the base from the back frame.
- Carefully remove the mechanical components.
Ready to make your recliner sofa a little lighter? Let’s walk through the exact steps to get it taken apart safely and efficiently.
Taking Apart Your Recliner Sofa: A Practical Guide
So, you’ve got a recliner sofa that needs to be moved, replaced, or perhaps just deep cleaned. Dismantling one might sound like a huge task, but we found that it’s quite manageable with the right approach. The key is to work systematically and identify how the different parts are connected. This guide will help you break down your recliner sofa into manageable pieces.
Many modern recliner sofas are designed with easier disassembly in mind. This means they often use simple brackets, clips, or bolts that you can access with basic tools. We’ve put together these steps to make the process as smooth as possible for you. Let’s get started!
Step 1: Prepare Your Workspace and Tools
Before you begin, it’s important to set yourself up for success. You’ll need a bit of space to work with. Clear the area around the recliner sofa. This prevents tripping hazards and gives you room to maneuver the parts once they’re disconnected.
Gathering your tools beforehand is also a smart move. You probably have most of what you need right in your toolbox. Having everything ready means you won’t have to stop and search for a tool midway through the process.
Essential Tools You’ll Need
- A set of screwdrivers (Phillips and flathead).
- Adjustable wrenches or a socket set.
- Pliers.
- A utility knife or sturdy scissors for any zip ties.
- Gloves to protect your hands.
- Possibly a drill with appropriate bits if your sofa uses screws extensively.
We also recommend having a helper. Recliner sofas can be heavy and awkward, even in pieces. An extra pair of hands will make lifting and moving much easier and safer. Remember, safety first!
Step 2: Detach the Cushions and Backrests
This is usually the simplest part of the disassembly. Most cushions are not permanently attached. You can typically just lift them right off their seats.
For the backrests, look closely at the connection points. Many recliner sofa backrests slide down onto metal brackets attached to the seat base. You might need to lift them slightly and then pull them towards you, or sometimes lift them straight up and away from the base. We found that a little gentle wiggling can help them come free.
Removing Seat Cushions
These are the easiest. Just pick them up and set them aside. If you have any velcro strips holding them in place, gently peel them apart. Some sofas might have a few snaps, but this is less common.
Detaching the Backrests
This is where you might encounter different designs.
- Slide-off Brackets: Many sofas have metal L-shaped brackets. The backrest has a corresponding bracket that slides down onto the base bracket. Lift the backrest straight up to disengage it.
- Bolt Connections: Some models might have bolts securing the backrests. Look for bolt heads on the sides or underside where the back meets the seat. Remove these with a wrench or socket.
- Clip Systems: Occasionally, you’ll find plastic or metal clips. These usually require you to push a release tab or slide a lever to detach.
Step 3: Accessing and Disconnecting the Reclining Mechanisms
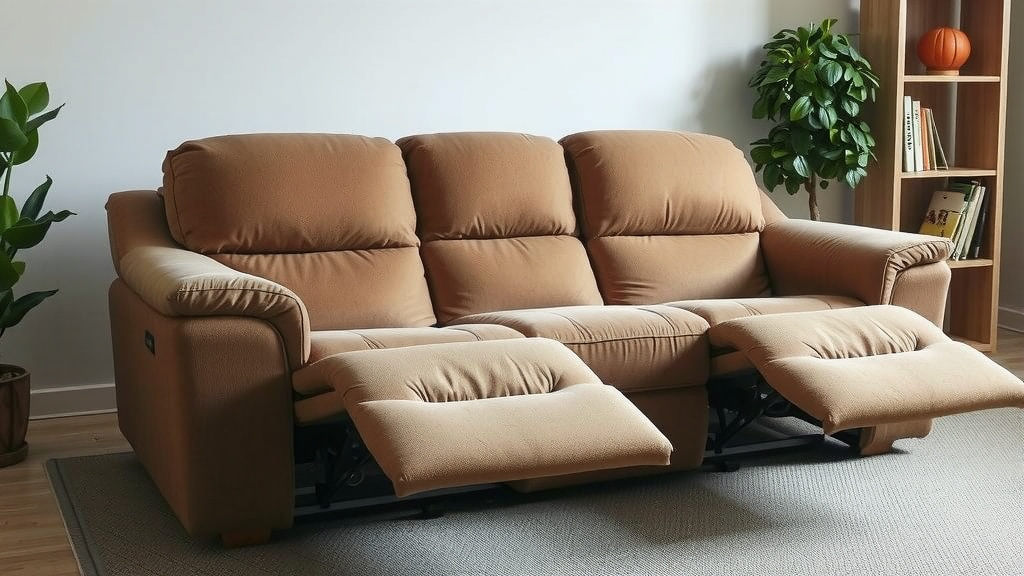
This is the part that might seem the most intimidating, but it’s usually straightforward once you know what to look for. The reclining action is powered by metal mechanisms. These are typically attached to the frame of the seat base.
Locating the Mechanism Linkages
With the backrests and cushions removed, you’ll have a clearer view of the seat’s interior. Look underneath the seat. You’ll see metal arms and rods. These are the linkages that connect the handle or lever to the reclining footrest and backrest.
There are usually two main sets of linkages per seat: one on each side. You’ll see a lever or handle that you pull to operate the recliner. Follow the metal arms from this lever.
How to Disconnect the Linkages
Most linkages are designed to be easily detached. We found that they often connect to a pivot point with a pin or a clip.
- Release Pins: Some mechanisms use small metal pins that go through a hole to hold parts together. You might need pliers to pull these pins out.
- Clip Connectors: Other connections are secured with spring clips. You’ll need to push or pull these clips to release the rod.
- Bolted Joints: Less commonly, you might find bolts holding the linkages. Remove these with the appropriate wrench.
Be careful not to force anything. If a linkage seems stuck, double-check if there’s a hidden clip or pin. Sometimes, gently moving the mechanism while you try to disconnect can help. Many guides suggest taking photos before disconnecting; this can be helpful for reassembly.
Step 4: Separating Seat Sections and Base Frames
Many recliner sofas are modular, meaning they come in multiple seat sections that connect together. Identifying these connection points is key to separating the whole unit.
Finding the Connecting Brackets
Look along the sides of the seat bases where one section meets another. You’ll often find metal brackets that slide into each other, or a metal plate that’s bolted on. Sometimes, a simple lever or bolt holds the sections together.
We found that these brackets are usually positioned where the seat cushions meet. If your sofa is a loveseat, there might be two sections. A three-seater will have three sections.
Disconnecting the Sections
Once you’ve found the brackets:
- Sliding Brackets: If brackets slide together, you’ll need to lift one section slightly or push it sideways to disengage the brackets.
- Bolted Plates: If there are bolts, use your wrench or socket set to remove them. Keep the bolts and any washers together in a safe place.
After separating the seat sections, you can often then remove the entire seat base from the outer frame. This usually involves undoing more bolts or disengaging further brackets underneath.
Step 5: Removing the Reclining Mechanism Hardware
The final step for many recliner sofas is to remove the actual metal reclining mechanisms from the frame itself. These are usually attached with bolts or screws.
Identifying Attachment Points
Look at the wooden or metal frame of the seat base. The large, heavy metal reclining units will be bolted directly to this frame. You’ll see bolt heads on the outside or inside edges of the mechanism.
Unscrewing the Mechanisms
Use your socket set or wrench to remove these bolts. This can sometimes be tricky because the mechanisms are bulky. Having your helper is essential here, as the mechanisms can be heavy. We found that removing one side’s mechanism first can sometimes make it easier to access the bolts on the other side.
Once all bolts are removed, you should be able to lift the reclining mechanisms off the frame. Be prepared for their weight. Place them carefully in your designated area.
Checklist for a Smooth Disassembly
- Clear your workspace for ample room.
- Gather all necessary tools beforehand.
- Have a helper for lifting and maneuvering.
- Start by removing cushions and backrests.
- Locate and disconnect reclining mechanism linkages.
- Separate seat sections using their connecting brackets.
- Unbolt the heavy reclining mechanisms from the frame.
You’ve done it! By following these steps, you’ve successfully dismantled your recliner sofa into more manageable parts. This makes moving, disposal, or even repair much more achievable. Remember to store all the small parts like bolts and clips in labeled bags to keep them organized.
Conclusion
You’ve successfully broken down your recliner sofa into its core components. We found that tackling it section by section, starting with the cushions and backrests and moving to the mechanisms, makes the entire process much less overwhelming. Remember to keep all your hardware organized in labeled bags. This careful disassembly not only simplifies moving or disposal but also opens doors for potential repairs or reupholstering projects. Now that your sofa is in pieces, you can handle it with greater ease and confidence.
Frequently Asked Questions
What if I can’t find the lever to detach the backrest?
Look closely at the sides and underside where the backrest meets the seat base. Some designs use hidden clips or bolts instead of visible levers. Gently probing with a flathead screwdriver or pliers might reveal the release mechanism. We found that photos of similar models online can sometimes show you where to look.
Are recliner sofa mechanisms very heavy?
Yes, the metal reclining mechanisms are quite heavy. They are made of sturdy steel to withstand constant use. You will definitely need a helper to safely lift and move them. Always be mindful of your back and lift with your legs when moving these parts.
Can I reuse the reclining mechanisms if I buy a new sofa frame?
It’s possible, but not always recommended. If the mechanisms are still in good working order and the mounting points align with a new frame, you might be able to. However, ensure they are compatible to avoid frustration and potential damage.
How should I store the disconnected parts?
Store smaller parts like bolts, screws, and clips in resealable plastic bags. Label each bag clearly with the part it contains (e.g., “Backrest Bolts”). Keep larger pieces protected from dust and moisture in a dry area, perhaps covered with old blankets or tarps.
What if a part is stuck and won’t detach?
Avoid using excessive force, as this can cause damage. First, re-examine the connection point to ensure you haven’t missed a clip, pin, or bolt. Sometimes, a little gentle wiggling or applying a bit of penetrating oil can help loosen stubborn connections. If it still won’t budge, it might be secured in a way that requires professional attention.
![10 Best Back Support For Sofa [2026]](https://hometopaccesories.com/wp-content/uploads/2026/08/10-best-back-support-for-sofa-2026-featured-768x432.jpg)