How to Fix a Tear in a Leather Sofa: DIY Guide
Yes, you can absolutely fix a tear in your leather sofa yourself! With the right DIY kit and a little patience, you can make those annoying rips disappear. It’s a straightforward process that can save you a lot of money.
Don’t let a small tear turn into a big problem. Many people think leather repair is complicated, but it’s more about following simple steps. This guide will show you how to tackle common leather sofa damages and restore its original beauty.
- Assess the tear size and type.
- Gather your leather repair kit.
- Clean the damaged area thoroughly.
- Apply the leather filler or patch.
- Color match and blend the repair.
- Seal and protect the mended spot.
Ready to give your favorite couch some much-needed TLC? Let’s walk through exactly how to fix that tear step by step, so you can get back to relaxing in comfort.
“`htmlRepairing a Ripped Leather Sofa: Your DIY Guide
A tear in your leather sofa doesn’t have to be a disaster. You can often fix it yourself with a bit of care. Let’s talk about how you can restore that beloved piece of furniture. It’s more achievable than you might think.
Assessing the Damage: What Are You Dealing With?
Before you grab any tools, take a close look at the tear. The size and type of damage will guide your repair method. Is it a clean cut, a jagged rip, or a puncture?
Understanding Tear Types
A small nick or scratch is different from a long, gaping rip. A puncture might be small but deep. A frayed edge means you have some loose threads to manage. Identifying the exact nature of the tear helps you choose the right supplies.
Is It Through-and-Through?
Check if the tear goes all the way through the leather. If it does, you’ll need to consider reinforcing it from underneath. This is where a backing patch comes in handy. If it’s just a surface split, the process might be simpler.
Gathering Your Leather Sofa Repair Kit
You’ll need a few specific items to get the job done right. Many people find that a good quality leather repair kit has everything you need. These kits are designed for common sofa issues.
Essential Components of a Repair Kit
Most kits include items like:
- Leather filler or adhesive
- Color compounds or dyes
- Applicator tools (spatula, brush)
- A backing fabric or patch
- Sandpaper or smoothing tools
- Sealer or finish
You might also need some household items. A clean cloth, rubbing alcohol, and perhaps some scissors are often necessary. We found that having these on hand makes the process smoother.
Choosing the Right Color
Matching the color is key to an invisible repair. Most kits come with a range of base colors. You’ll mix these to match your sofa’s exact shade. This step takes patience. Don’t rush it!
Preparing the Damaged Area for Repair
Cleanliness is absolutely vital for a successful repair. Any dirt or oils will prevent the filler or adhesive from bonding properly. Think of it like preparing a surface for painting.
Cleaning the Tear and Surrounding Area
Use a mild leather cleaner or a damp cloth with a tiny bit of mild soap. Gently wipe down the area around the tear. For tougher grime, a small amount of rubbing alcohol can help. Allow the area to dry completely before proceeding.
Trimming Loose Threads
If the tear has caused frayed edges, carefully trim away any loose threads with sharp scissors. You want a relatively clean edge for the repair material to adhere to. Don’t cut too much, just enough to tidy it up.
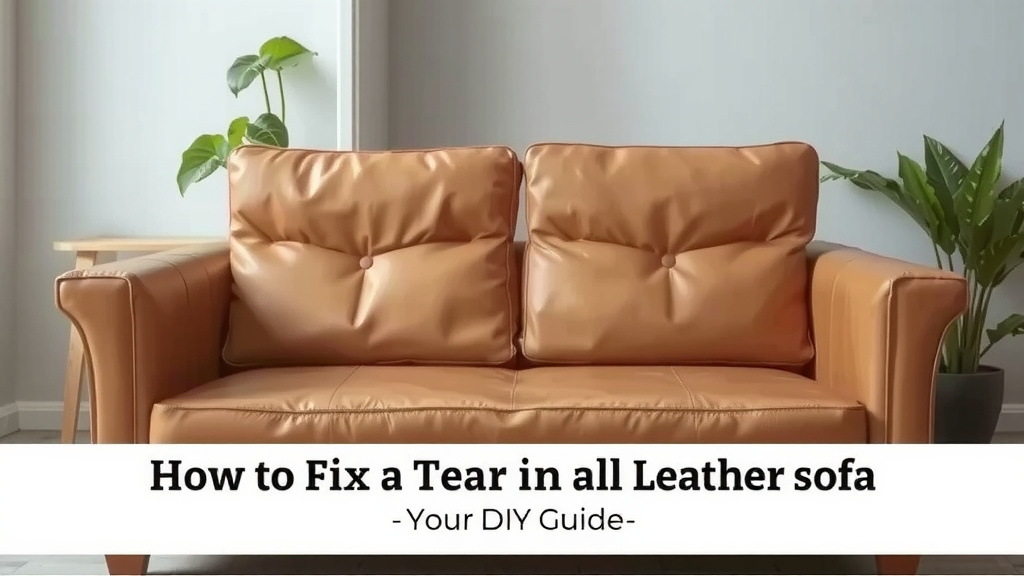
Applying the Leather Filler or Patch
This is where the magic starts to happen. The method here depends on the type of tear you’re fixing.
For Minor Tears and Scratches
If the tear isn’t all the way through, you’ll likely use a leather filler. Apply a small amount of filler with a spatula. Smooth it out so it’s level with the surrounding leather. You might need to apply several thin layers. Let each layer dry completely according to the kit’s instructions.
For Deeper Rips and Punctures
If the tear goes through the leather, you’ll need that backing patch. Gently insert the fabric patch underneath the ripped edges. Use the spatula to smooth down the torn leather pieces over the patch. Then, apply the leather filler or adhesive as directed. Many experts suggest using this method for tears longer than an inch.
Color Matching and Blending Your Repair
This is often the most challenging part, but it’s where you achieve that seamless look. Take your time here.
Mixing the Perfect Shade
Use the color compounds from your kit. Start by mixing small amounts. Compare the color to an inconspicuous area of your sofa, like the back or underside. Add tiny amounts of different colors until you achieve a match. It’s better to have a slightly lighter shade and build it up than to go too dark.
Applying the Color
Once you have your match, carefully apply the color to the repaired area. Use a brush or sponge. Feather the edges to blend it into the surrounding leather. You might need multiple thin coats. Allow each coat to dry before applying the next. We found that dabbing lightly works best for blending.
Sealing and Protecting Your Handiwork
The final step is to seal the repair. This protects your work and helps it blend in even more. Many kits include a leather finish or sealant.
Applying the Leather Finish
Lightly apply the finish over the repaired and colored area. This will help to restore the natural sheen of the leather. Again, feather the edges to blend it. This step is crucial for durability. It essentially locks in the color and filler.
Curing Time
Allow the repair to cure fully according to the product instructions. This might take a few hours or even a full day. Avoid using the sofa or placing pressure on the repaired area during this time. Patience pays off here.
Quick Repair Checklist
Here’s a quick reminder of the steps:
- Inspect the tear carefully.
- Gather all your repair supplies.
- Clean the damaged area thoroughly.
- Apply filler or patch as needed.
- Mix and apply color to match.
- Seal and let it cure fully.
By following these steps, you can successfully tackle many common tears and keep your leather sofa looking its best for years to come.
“`Conclusion
You’ve learned how to tackle that pesky tear in your leather sofa! With a little preparation and the right DIY kit, you can restore its look and feel. Remember to assess the damage, clean the area thoroughly, and apply the filler or patch carefully. Taking your time with color matching and sealing is key to a repair you’ll be proud of. Now, go ahead and give your sofa the TLC it deserves!
Frequently Asked Questions
How do I know if my tear is too big for a DIY repair?
If the tear is very large, complex, or has multiple rips radiating from it, it might be beyond a simple DIY fix. Also, if the leather is severely degraded or brittle around the tear, professional restoration might be a better option.
Can I repair a tear on a leather sofa that’s a unique color?
Matching unique or vibrant colors can be challenging. Most DIY kits provide base colors for mixing, but highly specific shades might require extra effort or custom color matching services. Always test your color mix on an unseen area first.
How long does a DIY leather sofa repair typically last?
With proper application and care, a DIY repair can last for several years. The longevity depends on the quality of your repair kit, how well you followed the instructions, and the amount of stress the repaired area endures.
What if the color doesn’t match perfectly after I apply it?
Don’t worry! Most repair kits allow for reapplication. You can often add thin layers of color to build up the shade. Feathering the edges with each layer helps it blend better with the surrounding leather.
Do I need to condition the leather after the repair?
Yes, absolutely. After the repair has fully cured, it’s a good idea to apply a quality leather conditioner to the entire sofa, including the repaired area. This helps keep the leather supple and can further blend the appearance of the mend.
![10 Best Cushion For Sofa [2026]](https://hometopaccesories.com/wp-content/uploads/2026/09/10-best-cushion-for-sofa-2026-featured-768x432.jpg)

![10 Best Back Support Cushion For Sofa [2026]](https://hometopaccesories.com/wp-content/uploads/2026/08/10-best-back-support-cushion-for-sofa-2026-featured-768x432.jpg)
![10 Best Choice Sofa [2026]](https://hometopaccesories.com/wp-content/uploads/2026/09/10-best-choice-sofa-2026-featured-768x432.jpg)