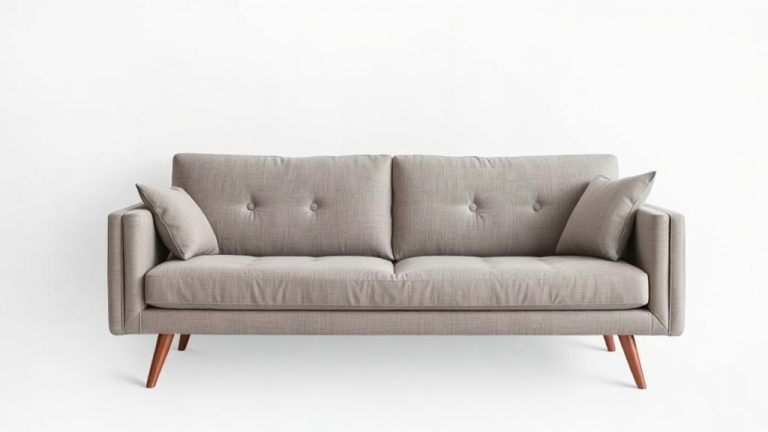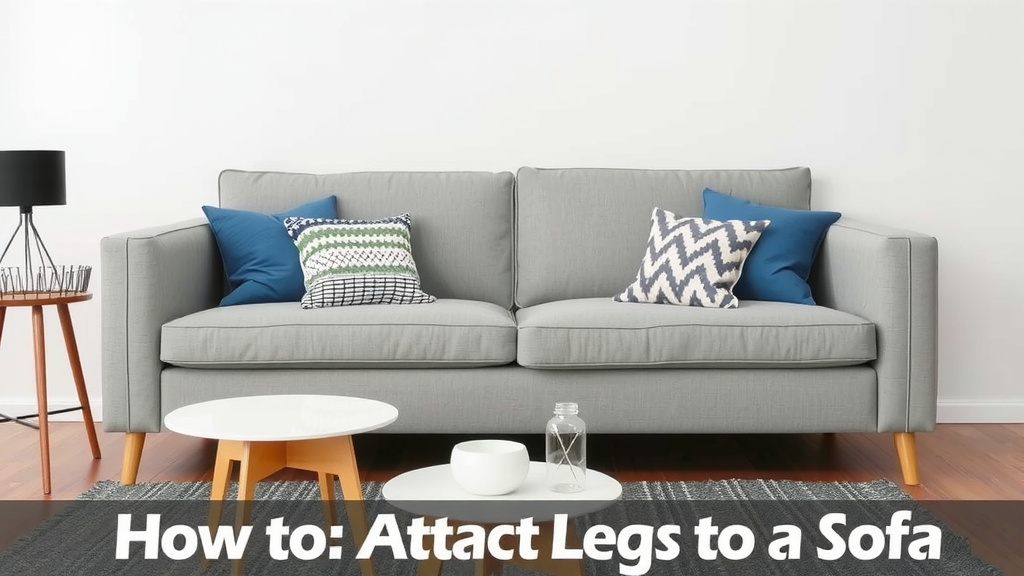
How to Attach Legs to a Sofa: Easy Step-by-Step Guide
The easiest way to attach legs to a sofa is to line up the mounting plates with the pre-drilled holes on the sofa’s base, then twist or bolt each leg in place until it’s snug. Most sofas use screw-on legs or bolt-attached legs, and the whole job usually takes under 30 minutes with basic tools. No fancy skills needed.
So why does this little task matter so much? Well, loose or missing legs can make your sofa wobble, sag, or even damage your floor over time. We researched the most common sofa leg types and found that plate-mounted legs and screw-in legs cover the majority of sofas sold in the US today.
Here’s the quick version before we get into the details:
- Flip or tip your sofa so you can reach the base safely.
- Identify your leg type: screw-in, bolt-on, or plate-mounted.
- Line up the legs with the mounting holes or plates.
- Twist or bolt them in until they’re firm, not forced.
- Flip the sofa back and give it a gentle shake test.
Below, we break down everything you need to know about attaching sofa legs, step by step. Grab a friend if your sofa is heavy, and let’s get those legs on right.
Attaching Legs to Your Sofa the Right Way
The best method depends on your leg type: screw-in legs twist right in, bolt-on legs use a bolt through the frame, and plate-mounted legs screw onto a metal plate. Once you know which one you have, the rest is easy. If you want to build a sofa from scratch, our DIY guide covers attaching legs as part of the build.
Before you start, gather your tools. Most jobs need nothing more than a wrench, a drill or screwdriver, and maybe a helper. That’s it.
Know Your Sofa Leg Types First
Not all legs attach the same way. We found that picking the wrong style is the number one reason people end up with a wobbly couch. Here’s a quick comparison.
| Leg Type | How It Attaches | Difficulty |
|---|---|---|
| Screw-in | Twists into a pre-drilled hole | Very easy |
| Bolt-on | Bolt threads through the frame into the leg | Easy |
| Plate-mounted | Screws onto a metal plate or bracket on the frame | Moderate |
| Claw or T-nut style | Bolt passes into a metal nut embedded in the frame | Moderate |
How to Tell Which Type You Have
Flip the leg over and look at the top. If you see a bare threaded stud sticking out, it’s screw-in or bolt-on. If you see a flat metal plate with screw holes, it’s plate-mounted.
Still unsure? Check the original hardware bag or the manufacturer’s website. Many furniture brands list assembly instructions online for free.
Get Your Sofa Ready for the Job
Preparation makes this a ten-minute job instead of an afternoon headache. Clear the area, vacuum the floor so nothing scratches your hardwood, and grab a furniture blanket or old towel to rest the sofa on.
Flip or Tip Your Sofa Safely
Lifting a couch wrong can strain your back. The CDC recommends using your legs, not your back, and keeping the load close to your body when lifting. Sound advice for a 90-pound loveseat.
If your sofa is heavy, tip it onto its back gently. Never flip it fully upside down on its arms or back; that can crack the frame. Ask a friend to help you lower it slow and steady.
Step-by-Step: Installing Screw-In Legs
These are the simplest legs on the market. You literally just twist them in.
- Find the four pre-drilled holes on the base of the sofa.
- Thread each leg in by hand, turning clockwise.
- Turn until the leg sits snug against the frame.
- Give each leg a gentle tug to confirm it’s tight.
- Do not overtighten; you can strip the wood.
Think of it like threading a lightbulb. Snug is enough. Cranking it harder doesn’t help and usually hurts.
Step-by-Step: Installing Bolt-On Legs
Bolt-on legs use a bolt that passes through the leg base into the frame. This style is common on mid-century and Scandinavian-style couches.
Aligning and Tightening the Bolts
Hold the leg flush against the frame’s mounting point. Insert the bolt and start threading by hand first, always. Cross-threading by force with a wrench is the fastest way to ruin the hole.
Once the bolt catches, tighten it with a wrench or Allen key until it stops turning easily. Many experts suggest a quarter-turn past snug, and no more.

Step-by-Step: Installing Plate-Mounted Legs
Plate-mounted legs come with a small metal bracket. You’ll screw the plate onto the frame first, then attach the leg to the plate.
Securing the Mounting Plate
Line the plate up with the pre-drilled holes on the sofa base. Drive the provided screws in with a drill or screwdriver. We found that pre-drilling tiny pilot holes prevents wood splitting on older frames.
Make sure the plate sits flat. A tilted plate means a tilted leg, which means a rocking sofa. Nobody wants that.
Attaching the Leg to the Plate
Most plate systems use a snap or twist lock. Line up the leg with the plate and press or twist until you hear a click. If bolts are included instead, thread them in and tighten gently.
Your Pre-Install Checklist
Run through this quick list before you attach anything:
- All legs and hardware laid out and counted.
- Correct tools within arm’s reach.
- Sofa flipped safely with padding underneath.
- Mounting holes clean and free of debris.
- A friend nearby for heavier sofas.
- Thread-locking fluid on hand for bolt-on styles.
Common Problems and Quick Fixes
Sometimes things don’t go smoothly, and that’s normal. Here are the issues we found people run into most.
Legs That Spin Without Tightening
A spinning leg means the threaded insert inside the frame is stripped. Fill the hole with wood glue and a toothpick or two, let it dry, then re-thread. It’s a classic fix and it works.
Wobbly Sofa After Installation
Check that all legs are tightened to the same height. Uneven carpet can also cause rocking. Slide a small furniture shim under the short leg if needed.
Final Testing Before You Sit Down
Flip the sofa upright and give it the shake test. Push down on each corner firmly. If nothing wiggles or clicks, you’re done.
Recheck the bolts after a week of use. New furniture settles, and a quick tighten now prevents a loose leg later. Enjoy your newly leveled sofa; your popcorn deserves it.
Conclusion
Attaching legs to your sofa is one of those jobs that looks harder than it is. Once you’ve identified your leg type, the whole process comes down to lining things up, threading by hand first, and tightening snug without forcing anything. Remember to work on a padded surface, flip the sofa safely with help if it’s heavy, and run that shake test before you settle in. We found that most problems come from rushing the alignment or overtightening, so slow and steady wins here. A week later, give those bolts one more check. Now grab your tools, flip that couch, and get it standing tall again.
Frequently Asked Questions
Can I attach legs to a sofa that doesn’t have pre-drilled holes?
Yes, but it takes extra care. You’ll need to attach plate-mounted brackets to a solid part of the frame using wood screws, ideally into the hardwood corner blocks. Avoid screwing into soft particleboard alone, since it won’t hold weight over time.
What size bolts do sofa legs use?
Most US sofas use 5/16-inch or 3/8-inch diameter bolts, but thread pitch varies by manufacturer. Take an existing leg or bolt to a hardware store and test-fit it, or check your sofa’s manual before buying replacements.
Can I replace my sofa legs with taller ones?
Usually, yes, as long as the mounting style matches. Taller legs raise your sofa and make cleaning underneath easier. Just confirm the new legs can support the weight and that the threaded stud or plate is the same size as your originals.
Do sofa legs need washers?
For bolt-on and plate-mounted legs, washers help distribute pressure and keep the leg from loosening with daily use. Screw-in legs generally don’t need them. If your hardware bag includes washers, use them; if not, they’re a cheap upgrade worth adding.
Why does my sofa leg keep coming loose?
Repeated sitting and shifting naturally works threads loose over time. A drop of thread-locking fluid on bolt-on legs helps a lot. For screw-in legs, a spinning or loose fit usually means a stripped insert that needs the toothpick-and-glue repair.