How to Build a Built In Sofa: A Step-by-Step DIY Guide
Building a built-in sofa starts with a simple frame: a wooden platform box, a back support, and a comfortable cushion setup on top. The easiest way to build one is to frame the base out of 2×4 lumber, secure it to the wall studs, then add a plywood seat and foam cushions. With basic tools and a free weekend, most people can pull this off for a fraction of the cost of store-bought furniture. Our full guide to building a sofa from scratch covers frame, foam, and upholstery in detail.
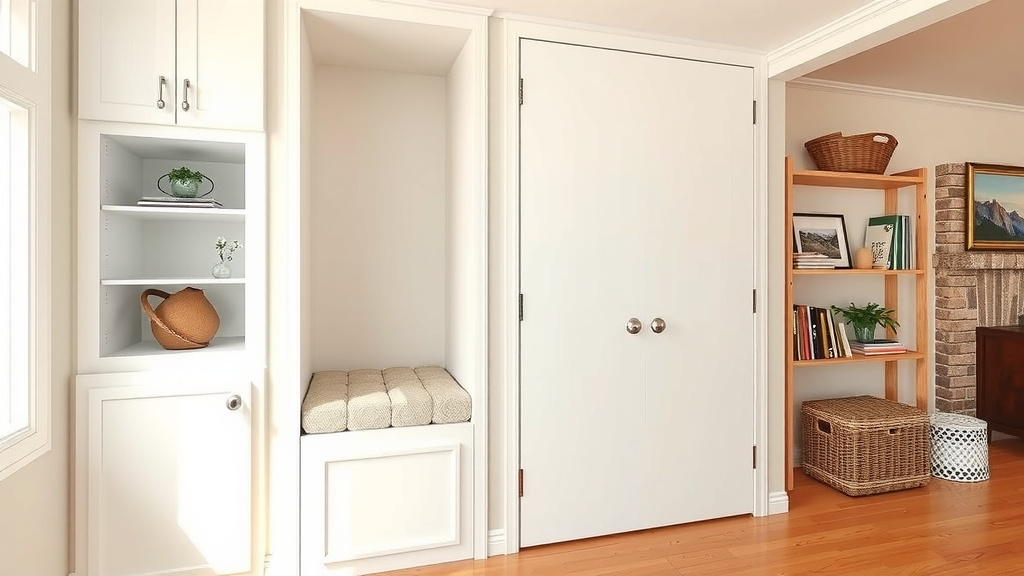
Why go built-in in the first place? These sofas maximize small spaces, fit awkward nooks perfectly, and add that cozy, custom look you can’t buy off a showroom floor. We researched dozens of DIY builds and found that the most successful projects keep the design simple and sturdy rather than fancy. Many experts say the real secret is measuring your space twice before cutting anything. (Ask us how we know.)
Here’s the quick version before we get into the details:
- Measure your nook carefully, including ceiling height and wall studs.
- Build a sturdy 2×4 base frame and anchor it to the wall.
- Add a plywood seat platform for solid support.
- Cut high-density foam to size and wrap it in cushion covers.
- Finish with paint, trim, or built-in storage underneath.
Below, we walk through everything step by step, from planning and materials to cushions that don’t sag. Grab a coffee, and let’s get building.
Now that you know the game plan, let’s break down each phase. We found that the builds that go wrong usually skip one thing: planning. So grab a tape measure, and let’s start there.
Building a Built-In Sofa That Fits Your Space
The best first move is measuring your nook and sketching a simple plan on paper before buying any wood. A built-in sofa is basically a big wooden box with cushions, so if your box is the wrong size, no amount of foam will fix it. We found that successful DIYers spend as much time planning as building.
Getting Your Measurements Right
Measure the width, depth, and height of your space three times. Write down ceiling height, outlet locations, and any baseboards. Many experts say to subtract at least an inch from your wall-to-wall measurement so the sofa slides in without scraping paint.
Height matters more than people think. A seat platform around 16 to 18 inches tall feels natural for most adults, and seat depth of 22 to 24 inches works for lounging. If your cushions will add 4 inches of height, build the frame accordingly.
Finding Your Wall Studs
Use a stud finder to locate the wall studs and mark them with painter’s tape. Studs are usually 16 inches apart, but older homes love to surprise you. Your frame will anchor into these, so mark their centers now and thank yourself later.
Sketching a Simple Plan
You don’t need architecture software. A napkin sketch with dimensions works fine. Draw the base, back, and arms (if you want them), then label every measurement. We found that builders who sketch first make half as many cutting mistakes.
Materials and Tools You’ll Actually Need
Here’s the honest answer: a basic built-in sofa needs about $150 to $300 in lumber, plywood, screws, and foam. Prices vary by region and wood choice, but this project is famously budget-friendly compared to custom furniture.
| Item | What It’s For | Rough Cost |
|---|---|---|
| 2×4 lumber (6-8 boards) | Base and back frame | $30-$50 |
| 3/4-inch plywood (2 sheets) | Seat platform and back panel | $60-$90 |
| 3-inch and 1.25-inch screws | Joining everything | $15 |
| High-density foam (3-4 inches) | Cushions | $50-$100 |
| Wood glue and construction adhesive | Extra hold | $15 |
For tools, keep it simple:
- Circular saw or table saw for straight cuts
- Drill with driver bits
- Tape measure, level, and stud finder
- Sandpaper (120 and 220 grit)
- Caulk gun for adhesive
Many hardware stores will cut your plywood for free or a small fee. Take them up on it. Straight factory cuts beat wobbly garage cuts every time (we say this with love).
Building the Base Frame Step by Step
The core answer: assemble a rectangle of 2x4s for the platform, add cross supports every 16 inches, then anchor it to the wall studs with long structural screws. This frame carries all the weight, so don’t skimp on fasteners.
Assembling the Platform
Cut your 2x4s to form the outer rectangle. Pre-drill holes to avoid splitting the wood, then drive two 3-inch screws at every joint. Add a dab of wood glue before screwing; it’s cheap insurance.
Inside the rectangle, install cross supports on edge, spaced about 16 inches apart. Think of them like the ribs of a boat. They keep the plywood seat from sagging when your uncle sits down with a plate of ribs.
Adding Legs and Shims
Level is everything here. Set the frame in place, check it with a level, and slide wood shims under low spots. Many experts say an unlevel base is the number one cause of a sofa that looks crooked forever.
Anchoring to the Wall
Drive 3-inch screws through the back of the frame and into the studs you marked earlier. Use at least four screws, ideally one per stud. This keeps the sofa from tipping or shifting, which matters if you have kids who treat furniture like playground equipment.
Adding the Seat and Back Panels
Screw your cut plywood directly onto the frame using 1.25-inch screws every 8 to 10 inches. For the back, attach a plywood panel to wall studs or to a 2×4 back frame you build against the wall.
Sand every exposed edge before moving on. A quick pass with 120-grit, then 220-grit, prevents snagged pants and splinters. Round the front corners slightly with sandpaper for a softer look.

Choosing Cushions and Foam That Last
The short answer: buy high-density foam rated at 2.0 pounds per cubic foot or higher, cut to your seat size, and wrap it in batting before slipping on covers. Low-density foam flattens within a year. We found that this is the one area where spending a little more pays off.
Comfort research backs this up: firmer, denser cushioning keeps its shape longer and supports the body better over long sits (NIH). Softer is not always comfier. Your future self, three hours into movie night, will agree.
Cutting and Covering Foam
Mark your foam with a marker and cut it with an electric carving knife. It sounds odd, but it works beautifully. Wrap each cushion in polyester batting and secure it with spray adhesive before adding the cover.
Picking Cushion Covers
Order covers with zipper closures in a washable, medium-weight fabric like canvas or performance polyester. Light colors look great until someone spills salsa. Choose accordingly, brave friend.
Finishing Touches: Paint, Trim, and Storage
Paint or stain the exposed wood to match your walls for that seamless, custom look. Add a simple trim board along the base to hide gaps, and consider making the front panel a hinged lid for hidden storage. Board games, blankets, dog toys — suddenly they all have a home.
Before you call it done, run through this quick checklist:
- Frame is level and anchored into at least three studs
- No wobble when you push hard on the seat
- All edges sanded smooth
- Plywood seams filled and painted
- Cushions fit snugly with no big gaps
- Storage lid (if built) opens and closes cleanly
One last tip from our research: let any paint or stain cure fully for a few days before adding cushions. Fresh fumes plus closed cushions is a smell that lingers. Give it air, give it time, then flop down and enjoy the sofa you built with your own two hands.
Conclusion
Building your own built-in sofa comes down to a few honest fundamentals: measure three times, build a solid 2×4 frame, anchor it into the studs, and don’t cheap out on the foam. Everything else — trim, paint, hidden storage — is just polish. The beauty of this project is that mistakes stay small and fixable, since you’re working with basic lumber and simple joints. We’ve seen enough DIY builds to know the proudest moments come from furniture you made yourself. So grab your tape measure, sketch that plan tonight, and head to the hardware store this weekend. Your custom nook is waiting.
Frequently Asked Questions
Do I need to attach my built-in sofa to the wall?
We strongly recommend it. Anchoring the frame into at least three wall studs keeps the sofa from tipping or sliding, especially with kids or pets around. It takes just a few extra screws and makes the whole build feel rock solid.
Can I build a built-in sofa without a table saw?
Absolutely. A circular saw with a straightedge guide handles every cut this project needs. Even better, most hardware stores will cut your plywood to size for free or a small fee, so your sawing workload stays light.
How long does a DIY built-in sofa take to build?
Most DIYers finish in one to two weekends. Framing and paneling usually take a day, while paint, cushions, and trim fill out the second. Add extra time if you’re building a storage lid or staining the wood.
What thickness of foam should I use for sofa cushions?
Go with 3 to 4 inches of high-density foam rated at 2.0 pounds per cubic foot or higher. Thinner foam feels hard on a wooden platform, and low-density versions flatten within a year. This is the one spot where spending more pays off.
Can I make my built-in sofa removable later?
Yes, if you plan ahead. Use screws instead of construction adhesive on the wall anchors, and build the frame in two sections if it’s long. You’ll still need to patch screw holes when you remove it, but the sofa itself can move with you.