How to Build a Sofa Bench: A Step-by-Step Beginner Guide
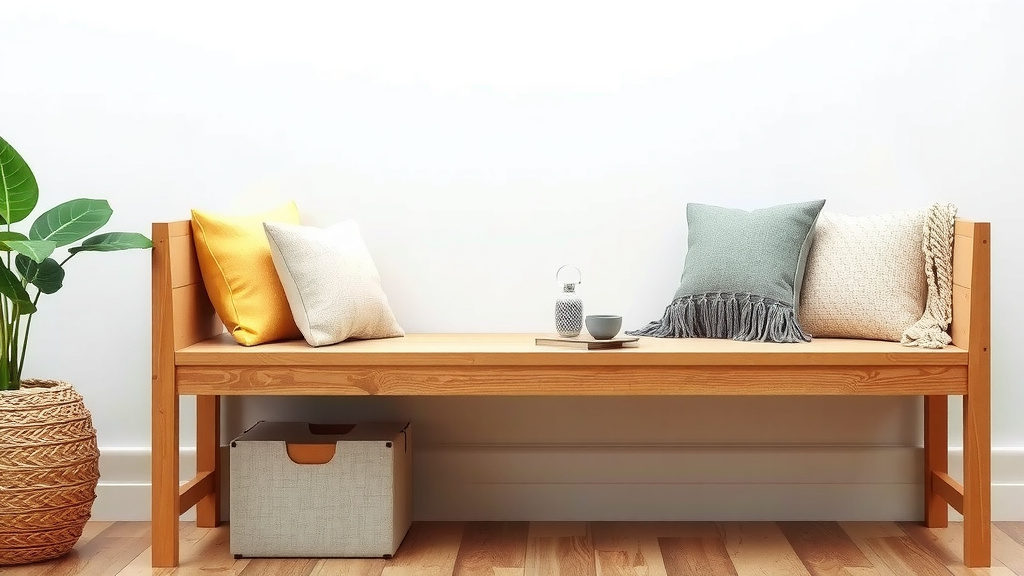
Building a sofa bench is easier than it looks. You need four basic steps: cut your wood, build the frame, add padding, and cover it with fabric. Most people can finish one in a weekend with just a saw, a drill, and a staple gun.
Why build one instead of buying? Because you get to pick the exact size, fabric, and style that fits your space. We researched dozens of DIY plans and found that a simple bench sofa can cost a fraction of what you’d pay at a furniture store. Plus, there’s something pretty satisfying about sitting on furniture you made with your own two hands.
- You only need basic tools like a saw, drill, tape measure, and staple gun.
- Pine boards and plywood are the most budget-friendly wood choices.
- Most builds take one to two days, including time for the glue to dry.
- High-density foam and batting make your bench comfortable enough for everyday lounging.
- You can customize the fabric to match any room, from a mudroom to a reading nook.
Sounds doable, right? Below, we walk you through every step of the process, from your shopping list to the final stitch. Grab a coffee, and let’s get building.
Building Your Own Sofa Bench, Step by Step
Here’s the whole project in one sentence: build a wooden box, pad the top, and wrap it in fabric. That’s it. Below, we break each part into bite-size chunks so you never feel lost mid-build.
Most DIY plans we researched follow the same bones. Once you see the pattern, you can resize or restyle your bench any way you like. Once you’ve mastered the bench, our guide to building a full sofa from scratch shows how these same skills scale up.
Your Shopping List and Tool Kit
Getting your materials right is half the battle. We found that a 48-inch bench runs about $60 to $100 in supplies, depending on your fabric taste. Furniture stores charge four times that for similar pieces.
Wood That Won’t Break the Bank
Pine is your friend. It’s cheap, light, and easy to cut. You’ll need:
- Two 2×4 boards, 8 feet long, for the frame and legs
- One 3/4-inch plywood sheet, cut to your seat size
- Wood glue and 2.5-inch wood screws
Tools You Probably Already Own
No fancy workshop required. Borrow what you’re missing.
- Circular saw or hand saw
- Drill with driver bits
- Tape measure and carpenter’s square
- Staple gun (the manual kind works fine)
- Sandpaper, 120 grit
Safety Gear Worth the Five Dollars
Grab safety glasses and ear plugs. The Consumer Product Safety Commission reports tens of thousands of workshop eye injuries each year, most of them preventable. Glasses are cheaper than an ER visit. Just saying.
Cutting Your Wood the Smart Way
Measure twice, cut once. This old saying exists because every builder has learned it the hard way. Write your cut list on paper before the saw ever hums.
For a standard 48-inch bench, cut two 2x4s to 45 inches for the long rails. Then cut four pieces to 16.5 inches: two for the short ends and two for the legs. Your plywood seat should measure 48 by 18 inches. Many home improvement stores will make these cuts for you free or for a small fee, which saves you the sawdust shower.
Marking Straight Lines
Use a speed square or framing square to draw your cut lines. A crooked line now means a wobbly bench later. And nobody wants a bench that rocks like a toddler’s chair.
Assembling the Frame
Build the rectangle first. Glue the joints, then drive two screws into each corner. Pre-drill your holes so the pine doesn’t split, because split wood is the saddest sound in DIY.
Adding Legs and Support
Square up your legs inside each corner of the rectangle. Screw through the frame into the leg, two screws per side. Then add a center support rail across the middle so your seat doesn’t sag. Sagging is the arch-nemesis of comfortable benches.
Let the glue cure for at least an hour before you flip the frame. Check for wobble. If it wiggles, tighten or add a corner brace.
Padding and Cushioning Done Right
Comfort comes from two layers: foam and batting. Skip one, and your bench feels like a church pew. Use both, and it feels like your favorite reading spot.
Picking the Right Foam
High-density upholstery foam, 2 to 3 inches thick, is the sweet spot. We found that foam rated at least 1.8 density holds up to daily sitting without flattening. Cut it to match your plywood using the plywood itself as a template. A bread knife works surprisingly well here.
Batting: The Secret Softness Layer
Wrap your foam in a layer of polyester batting. Batting softens the foam’s hard edges, so you don’t see sharp corners through the fabric. Spray adhesive or a few staples from underneath will hold it in place.
Why the Layers Matter
Think of it like a mattress: springs for support, padding for softness. Foam is your support. Batting is your softness. Together, they make sitting feel intentional instead of accidental.
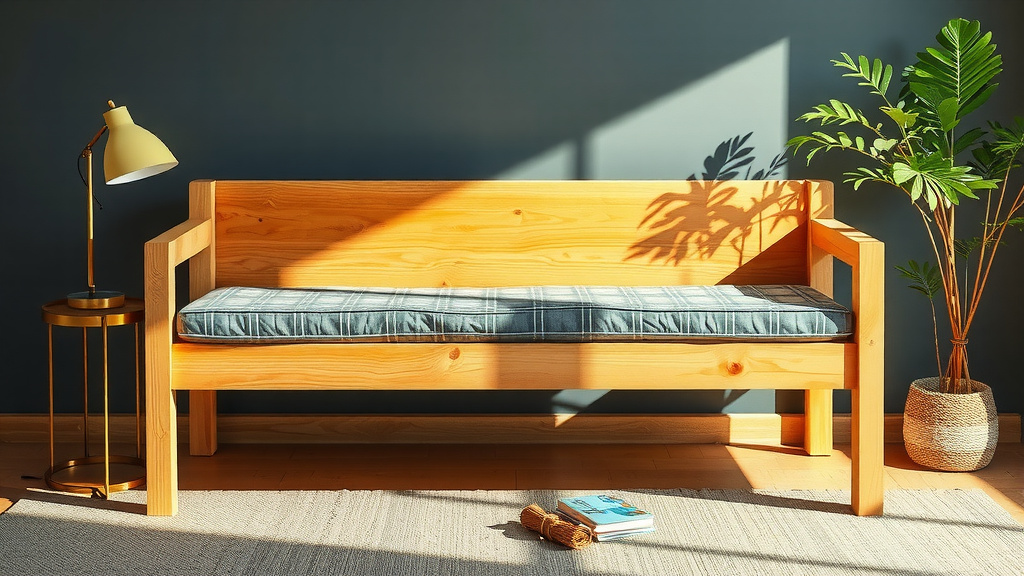
Upholstering the Seat
This is the fun part. Lay your fabric face-down on a clean floor. Set the padded seat on top, foam side down. Then pull the fabric up and over the plywood’s back edge.
Staple the center of each side first, then work outward toward the corners. Pull the fabric taut but not tight enough to distort the pattern. At the corners, fold the fabric like you’re wrapping a gift, then staple. Trim the excess with scissors.
Choosing Fabric That Lasts
Durable fabrics make or break a bench. Look for canvas, denim, or upholstery-weight material. Many experts say fabrics rated for heavy use hold up best in high-traffic spots like entryways (Good Housekeeping). If you have kids or pets, darker colors hide life’s little accidents.
Finishing Touches and pro-level Details
Small upgrades take your bench from homemade to handmade. Sand any rough edges, then paint or stain the exposed legs to match your room. A coat of primer followed by two thin paint coats beats one thick coat every time.
Want extra polish? Add furniture pads under the legs to protect your floors. Or screw in a pair of tapered wooden feet for a mid-century vibe.
Common Mistakes to Dodge
- Skipping the center support, which leads to a saggy seat
- Using thin craft foam instead of high-density foam
- Stapling fabric too loosely, causing wrinkles within a week
- Forgetting to pre-drill, splitting your pine boards
Your Pre-Build Checklist
Before you start, run through this quick list. It takes two minutes and saves an afternoon.
- Confirmed your bench dimensions against your room space
- Wood cut list written and double-checked
- Safety glasses and ear protection on hand
- Foam, batting, and fabric purchased together
- Staple gun loaded and tested on scrap fabric
- Glue-dry time factored into your weekend plan
That’s the whole journey, from lumber aisle to finished bench. Take your time with each step, and your weekend project will look like it came off a showroom floor.
Conclusion
You now have everything you need to build a sofa bench you’ll actually use every day. Cut your lumber carefully, glue and screw a square frame, layer foam and batting for comfort, and staple your fabric tight. None of these steps require special skills—just patience and a tape measure.
We found that the builders who succeed are the ones who slow down at the measuring stage. That single habit prevents almost every wobble, wrinkle, and wasted board. Your $60 to $100 bench will outlast plenty of store-bought pieces, and it will fit your room like nothing else can.
So here’s your next move: grab your cut list, head to the lumber aisle this weekend, and ask the store to make those first cuts for you. You’ll be sitting on your own handiwork before you know it.
Frequently Asked Questions
How much weight can a DIY sofa bench hold?
A well-built pine frame with a center support rail handles 300 to 400 pounds with no problem. The math works in your favor: two 2×4 legs plus solid corner joints spread the load evenly. If you want extra peace of mind, add two more legs or upgrade to hardwood.
Can I build a sofa bench without a staple gun?
Yes, but it takes more patience. Heavy-duty upholstery tacks and a hammer will hold fabric, though the finish looks more vintage than modern. If you plan more upholstery projects down the road, a basic manual staple gun costs about $20 and pays for itself fast.
What’s the best fabric for a bench in an entryway?
Go with something tight-woven and washable, like indoor-outdoor canvas or performance upholstery fabric. These shrug off wet jackets, muddy boots, and daily scuffs better than softer materials. We found that darker patterns hide dirt between cleanings, which matters in a high-traffic spot.
How do I clean and maintain my upholstered bench?
Vacuum the seat weekly with an upholstery attachment to keep dust out of the fibers. Blot spills right away with a damp cloth—never rub, or you’ll spread the stain. If your fabric has a removable care code, follow it, and re-tighten any loose staples once a year.
Can I turn my bench into a storage bench later?
Absolutely, and it’s a smart upgrade. Instead of stapling fabric to a fixed plywood top, attach it to a separate seat lid with piano hinges along the back edge. Build the frame a few inches taller, line the inside with plywood, and you’ve got hidden storage for shoes, blankets, or toys.