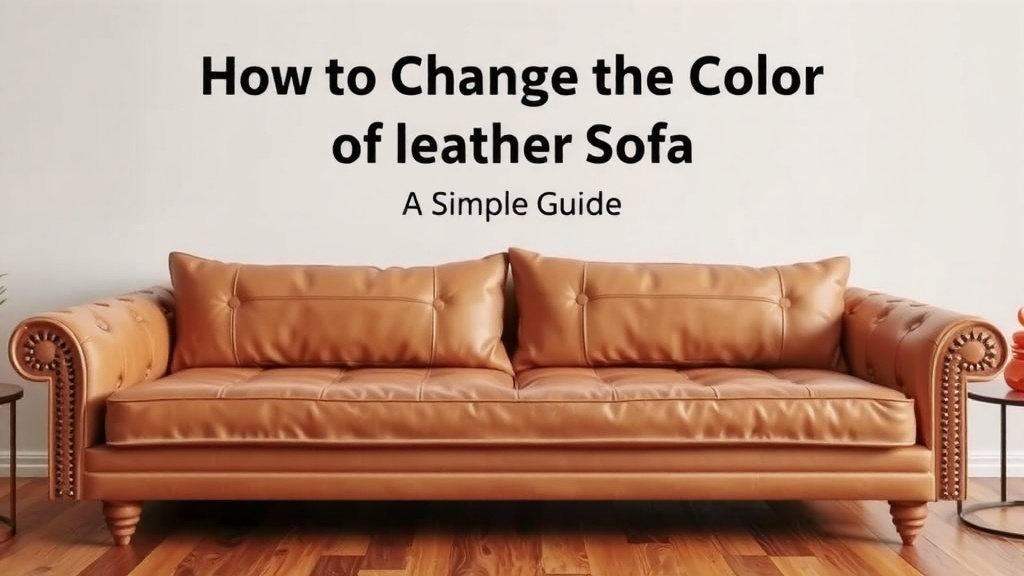
How to Change the Color of a Leather Sofa: A Simple Guide
The easiest way to change the color of a leather sofa is to apply a leather dye or paint made for leather surfaces. Clean the sofa, lightly sand it, then work the new color on in thin, even coats. Done right, your couch can look brand new in a weekend.
Maybe your dark brown sofa feels too heavy for your space now. Or maybe that red statement piece no longer fits your style (no judgment—we’ve all been there). The good news? You don’t need to buy a new sofa. Re-dyeing, painting with leather-specific products, or using a tinted leather recoloring balm are all solid options. We researched expert guides and product reviews to find what actually works at home.
- You can change your leather sofa’s color yourself with dye, paint, or recoloring balm.
- Preparation matters most: cleaning and light sanding help the color stick.
- Going darker is easier than going lighter.
- Most projects cost far less than a new sofa.
- The whole job usually takes one to two days, including drying time.
Below, we break down every method, what you’ll need, and the mistakes to avoid. Grab a cup of coffee—let’s turn that sofa into something you love again.
Changing Your Leather Sofa’s Color: What Actually Works
The most reliable methods are leather dye, leather paint, and tinted recoloring balm. Dye soaks in and looks most natural. Paint sits on top and gives full coverage. Balm falls somewhere in between and works well for small changes.
Which one should you pick? It depends on the color jump you’re making. Going from tan to dark brown? Dye is your friend. Going from black to cream? That’s paint territory, and honestly, a big project.
Leather Dye: The Natural-Look Option
Dye penetrates the leather’s surface, so the finish stays soft and flexible. We found that most professionals prefer dye for darkening jobs because it keeps the grain visible. The catch: you can’t easily dye a dark sofa lighter. Pigment won’t just lift out with bleach-water dreams.
Leather Paint: The Bold-Coverage Route
Paint coats the surface instead of soaking in. Brands made for leather stay flexible, so your couch won’t crack like an old pair of boots. Paint is your best bet for dramatic color changes or covering stains and sun-faded patches.
Think of it like makeup versus a tattoo. Paint covers; dye becomes part of the skin.
Recoloring Balm: The Low-Effort Refresh
Balms combine color and conditioner in one step. They’re great for reviving faded areas or nudging a shade slightly darker. If your sofa just looks tired rather than “wrong color,” start here.
| Method | Best For | Durability | Skill Level |
|---|---|---|---|
| Leather dye | Darkening, natural look | Very long-lasting | Moderate |
| Leather paint | Big color changes, covering flaws | Long-lasting | Moderate |
| Recoloring balm | Fading, subtle shifts | Needs touch-ups | Beginner |
Know Your Leather Before You Start
Not all leather accepts color the same way. Finished (protected) leather has a coating that resists absorption, so dyes struggle to soak in. Aniline and semi-aniline leathers are more porous and drink up color quickly.
The Water Drop Test
Place a small drop of water on a hidden spot, like the back or under a cushion. If it soaks in within a minute, you likely have unfinished or semi-aniline leather. If it beads up, you’re dealing with a coated finish. Many experts recommend this simple check before buying any product (University of Missouri Extension offers similar guidance on leather care).
Your Shopping List
Before you touch the sofa, gather everything. Nothing worse than dye on one cushion and a store run in the middle of the project.
- Leather-specific dye, paint, or balm in your chosen color
- Leather preparer/deglazer (strips old finish)
- Fine-grit sandpaper (240–400 grit)
- Mild soap, microfiber cloths, and sponges
- Painter’s tape and plastic sheeting
- Gloves, applicator pads or sponge brushes, and a good facemask
Prep Work: Where Projects Are Won or Lost
Skip prep, and your new color will peel, flake, or blotch. Ninety percent of bad results trace back to rushed preparation. Give this stage a full afternoon.
Cleaning the Surface
Vacuum crevices first, then wipe everything down with mild soapy water. Follow with a leather deglazer to strip oils and old conditioner. Why does this matter? Dye and paint bond to clean leather, not to years of body oils and popcorn grease. Our step-by-step guide to deep clean a leather sofa covers the full washing routine before any color work.
Light Sanding
Sand gently with fine-grit paper. You’re not trying to remove leather—just scuff the finish so the new color grips. Wipe away dust afterward with a tack cloth or damp rag.
Taping and Protecting
Tape off stitching you want to keep original, plus wooden legs and nearby walls. Lay plastic sheeting underneath. Ventilate the room, too—many solvents emit fumes, and good airflow matters for your lungs (CDC guidance on indoor ventilation applies to any home project with chemicals).
Applying Your New Color
Thin coats win. Thick coats droop, pool, and crack later. Plan on two to four light applications rather than one heavy flood.
Test First, Always
Apply your product to a hidden area and let it dry fully. Check the color, the feel, and whether it cracks when you flex the leather. Ten minutes of testing can save a whole sofa.
Coat by Coat
Work in small sections using circular motions with a sponge or applicator pad. Let each coat dry per the product label—usually 30 minutes to a few hours—before adding the next. Buff lightly between coats if the manufacturer suggests it.
Blotching Problems
If you see darker patches, stop. Blotching usually means the leather absorbed unevenly. A second prep pass with deglazer, then another thin coat, usually evens things out.

Sealing and Finishing
Once your final coat dries, apply a leather finish or topcoat. This locks in color and adds protection against spills and jeans that transfer dye (yes, indigo jeans are the enemy). Two thin coats of finisher, then allow 24 to 48 hours before heavy use.
We found that conditioning after finishing keeps the leather supple and prevents cracking down the road.
Common Mistakes to Sidestep
- Skipping the deglazer and applying color over oils or old finish
- Using regular craft paint instead of leather-specific products—it cracks and peels
- Piling on thick coats instead of several thin ones
- Trying to go dramatically lighter without a bleaching kit made for leather
- Sitting on the sofa before it fully cures
- Ignoring the water test and guessing your leather type
What This Project Costs and How Long It Takes
A DIY kit with dye, preparer, and finisher typically runs $50 to $150 depending on sofa size. Compare that to $1,500-plus for a new quality couch, and the math gets friendly fast. If you’re weighing repair against replacement, our guide to when to replace a sofa breaks down the signs.
Budget one full day for prep and application, plus one or two days of drying. Tackle it over a weekend and you’re back to movie night by Monday—on a sofa that finally matches your vibe.
Conclusion
Changing the color of your leather sofa is a realistic weekend project, and honestly, one of the smartest ways to refresh a room without spending thousands. Remember the big three: match the method to your color jump, do the water drop test before buying anything, and never rush the prep work. Thin coats, a hidden-area test, and a proper topcoat will separate a professional-looking result from a blotchy mess. We’ve researched enough horror stories to know that patience is the difference. So here’s your next step: run that water test tonight, order your supplies this week, and clear your Saturday. Your sofa—and your wallet—will thank you.
Frequently Asked Questions
Can I change the color of my leather sofa without sanding it?
You can skip sanding if you’re using a recoloring balm for a subtle refresh. But for dye or paint, light sanding helps the new color bond properly. We found that skipping it usually leads to peeling or uneven spots within months, so it’s worth the extra hour.
How long does the new color last on a leather sofa?
With proper prep and a good topcoat, dyed or painted leather typically holds up for several years of normal use. High-contact areas like armrests may need a touch-up sooner. Conditioning every few months keeps the finish flexible and extends its life.
Will changing my sofa’s color affect how soft the leather feels?
Leather dye keeps the original softness since it soaks into the material. Paint can add a slight layer, but quality leather-specific paints stay flexible once cured. Conditioning after the project finishes restores that supple, broken-in feel either way.
Can I dye a bonded leather or faux leather sofa?
Honestly, it’s tricky. Bonded leather has a polyurethane coating that resists dye, so paint is your only real option—and results can be hit or miss. Many readers find that paint on bonded leather eventually cracks, so go in with realistic expectations before starting.
Is it safe to change my leather sofa’s color indoors?
Yes, as long as you ventilate well and wear gloves and a facemask. Deglazers and solvent-based dyes release fumes, so open windows and run a fan while you work. If you’re sensitive to smells, consider a low-VOC or water-based product instead.