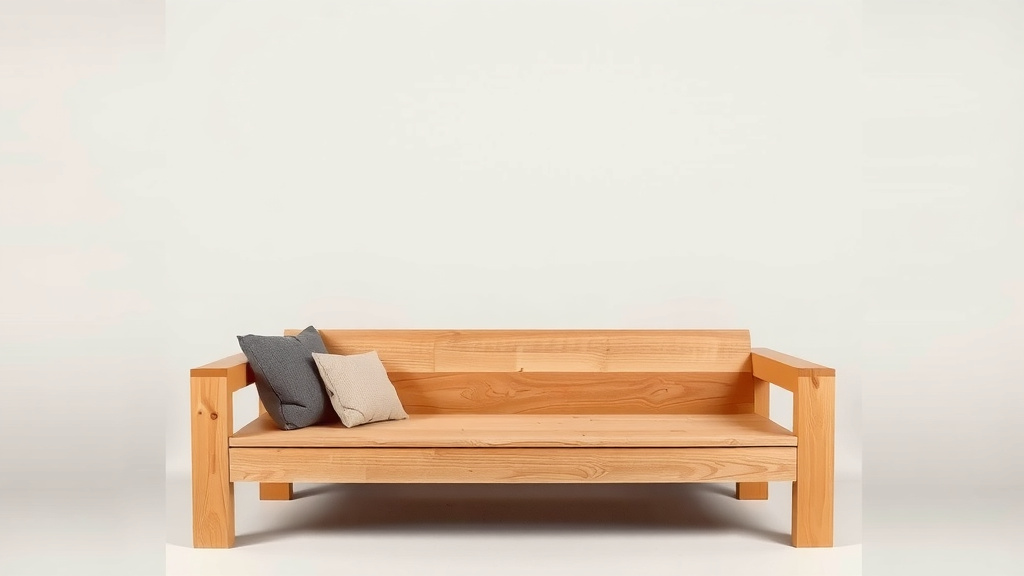
How to Build a Wooden Sofa: Step-by-Step DIY Guide for 2026
To build a wooden sofa, start by cutting your lumber to size, assembling a sturdy frame with 2x4s and 2x6s, then adding a seat base, cushions, and a finish of your choice. With basic tools and a solid plan, most DIYers can complete one over a weekend or two.
Why buy when you can build? A DIY wooden sofa can cost a fraction of a store-bought one, and you get to pick the exact size, wood, and style. We researched popular plans and found that pine and cedar are the go-to woods for beginners because they’re affordable and easy to work with.
- Choose simple, beginner-friendly plans and cheap lumber like pine.
- Gather basic tools: a saw, drill, sander, measuring tape, and screws.
- Build a strong frame first, then add the seat base and backrest.
- Sand everything smooth and apply stain, paint, or sealant.
- Finish with cushions to make it cozy enough for actual napping.
Below, we walk you through each step of building your own wooden sofa, from picking the right wood to adding the final coat of finish. Grab your tape measure, and let’s get started. For a second perspective, our guide to sofa frame construction covers base and back support in more depth.
Building a Wooden Sofa Step by Step
The whole project breaks down into five stages: planning, cutting, framing, finishing, and cushioning. Take them one at a time and you won’t feel overwhelmed. Think of it like a recipe — prep first, cook second, enjoy last.
Step 1: Pick Your Plan and Wood
Start with a simple plan. We found that beginner-friendly designs use straight cuts and basic joinery, which saves you headaches (and swear words). Pine and cedar are the most forgiving woods for first-timers.
Why does wood choice matter so much? Softwoods like pine are cheap and easy to cut. Hardwoods like oak look stunning but fight back harder. If this is your first build, let the pine win this round.
How Much Lumber Do You Need?
Most standard sofa plans call for around six to eight 2x4s, two to three 2x6s, and a sheet of plywood for the seat base. Buy about 15% extra. Mistakes happen, and a second trip to the lumber yard is nobody’s idea of fun.
Step 2: Gather Your Tools
You don’t need a fancy workshop. Here’s your checklist before you start:
- Circular saw or miter saw for straight cuts
- Drill with driver bits and wood screws
- Tape measure and a carpenter’s square
- Orbital sander with 120- and 220-grit sandpaper
- Wood glue and a level
- Safety glasses and ear protection (non-negotiable, friends)
Many woodworking guides stress eye and ear protection as the first rule of the shop (CDC). Sawdust and flying chips don’t care how careful you think you are.
Step 3: Measure and Cut Your Lumber
Measure twice, cut once. It’s a cliché because it’s true. Write each cut length on the board with a pencil before you saw.
Your plan will list exact dimensions, but a typical sofa frame uses 2x6s for the arms and seat rails and 2x4s for supports and the backrest. Cut everything before assembling anything. It keeps your momentum going.
Tips for Clean Cuts
Clamp a straightedge guide to your board so the saw follows a true line. Support both sides of the cut so the offcut doesn’t drop and pinch the blade. And let the saw do the work — forcing it only burns the wood and your patience.
Step 4: Assemble the Frame
The frame is your sofa’s skeleton. Get this right and everything else falls into place. Build the two side arm assemblies first, then connect them with the front and back seat rails.
Pre-drill every screw hole. This stops the wood from splitting near the ends, which is the most common beginner mistake we found in DIY forums. Add a dab of wood glue at each joint for extra strength.
Check for square as you go. Measure diagonally corner to corner in both directions. If the numbers match, your frame is square. If they don’t, nudge it until they do.
Step 5: Add the Seat Base and Backrest
Screw a plywood panel across the seat rails to create your seat platform. Many plans suggest drilling a few drainage or ventilation holes if the sofa lives outdoors. Then attach the backrest slats, leaning them slightly for comfort — about a 10-degree tilt feels just right.
Sit on it. Seriously. Test the sturdiness now, not after you’ve added cushions and a bowl of popcorn.
Step 6: Sand and Finish the Wood
Sand every surface, starting with 120-grit and finishing with 220-grit. Sand with the grain, not against it. Your hands will thank you later — no splinter surprises during movie night.
Wipe away the dust with a damp cloth, then apply your finish. Stain shows off the wood grain, paint adds color, and exterior sealant protects outdoor builds. Follow the can’s drying times. Rushing this step ruins the whole look.
Indoor vs. Outdoor Finishes
Indoor sofas do fine with stain and a clear topcoat. Outdoor builds need a weatherproof sealant rated for your climate. Reapply it every year or two, and your sofa will shrug off rain like a duck in a downpour.
Step 7: Add Cushions and Comfort
Now the fun part. Standard sofa cushions are about 24 inches deep, so build your seat to match. Foam inserts wrapped in batting, topped with washable covers, give you that store-bought feel at a DIY price.
We found that many DIYers add throw pillows and a lumbar cushion for lower-back support. Your spine will appreciate it — experts at the Cleveland Clinic note that good seating posture reduces strain on the lower back.
Common Mistakes to Avoid
A few pitfalls trip up almost every first-time builder. Here’s what to watch for:
- Skipping pre-drilled holes — split wood near screw ends weakens joints
- Ignoring wood movement — leave tiny gaps so boards can expand with humidity
- Rushing the sanding — rough spots show through every coat of finish
- Buying warped lumber — sight down each board before it leaves the store
- Over-tightening screws — snug is strong; stripped is sad
- Working without a plan printout — guesswork leads to scrap wood
Rough Cost Breakdown
Wondering what this adventure costs? Here’s a realistic ballpark for a standard indoor build:
| Item | Estimated Cost |
|---|---|
| Lumber (pine, 2x4s and 2x6s) | $60–$100 |
| Plywood sheet for seat base | $25–$40 |
| Screws, glue, and hardware | $20–$30 |
| Stain or paint and brushes | $20–$35 |
| Foam and cushion fabric | $80–$150 |
Grand total: roughly $200 to $350, depending on cushion quality. Compare that to a mid-range store-bought sofa, and the math starts smiling at you.
How Long Does the Build Take?
Most first-timers finish in two weekends: one for cutting and framing, one for sanding, finishing, and cushions. Experienced builders can knock out the woodwork in a single day. Give yourself grace — nobody wins a prize for speed, but everyone wins with a sofa they built themselves.
Conclusion
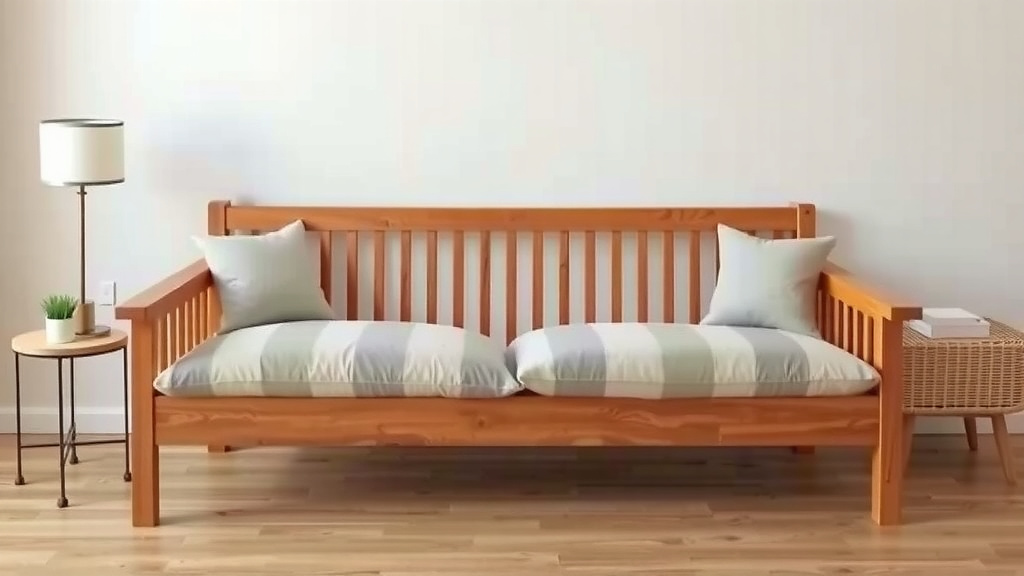
Building your own wooden sofa comes down to seven simple steps: pick a plan, gather your tools, cut carefully, assemble a square frame, add the seat base and backrest, sand and finish, then top it off with cushions. Keep your total budget around $200 to $350, give yourself two weekends, and avoid the common traps like skipping pre-drilled holes or rushing the finish. The result? A sturdy, custom sofa built with your own hands — and a story to tell every guest who sits on it. Your next step is easy: choose a beginner-friendly plan today and order your lumber this week.
Frequently Asked Questions
What is the best wood for a DIY sofa?
Pine is the top pick for most first-time builders because it’s affordable, widely available, and easy to cut and screw. Cedar is a smart choice if your sofa will live outdoors, since it naturally resists moisture and insects. If you want a premium look and have more experience, oak or maple are worth the extra effort.
Do I need pocket hole jigs or special joinery to build a sofa?
No, you don’t. Simple butt joints reinforced with wood glue and pre-drilled screws are strong enough for a sofa frame. Pocket hole jigs make joints cleaner and hidden, and many DIYers pick one up once they’ve built a few projects, but it’s not required for your first build.
How much weight can a homemade wooden sofa hold?
A well-built frame using 2x4s, 2x6s, and a plywood seat base easily supports several adults at once — often 600 pounds or more. The key is solid seat rails, glued and screwed joints, and a properly supported plywood platform. Always test the frame carefully before putting it into daily use.
Can I build a wooden sofa without a workshop or workbench?
Yes, you can. A garage, driveway, or even a patio works fine as long as you have a flat, level surface for cutting and assembly. Use sawhorses or a couple of sturdy tables to support your boards, and always work in a well-lit space with good ventilation when sanding or finishing.
Should I anchor my DIY sofa to the wall?
It depends on the design. Tall backrests or top-heavy builds can tip if someone leans hard or kids climb on them, so wall anchoring adds peace of mind. Low, wide-framed sofas with heavy bases are usually stable on their own. If in doubt, an L-bracket and a wall anchor are cheap insurance.