How to Build a Leather Sofa: Step-by-Step Guide for 2026
Building a leather sofa yourself comes down to four core steps: building or buying a frame, adding webbing and foam cushioning, cutting and sewing your leather panels, and upholstering it all together. Most DIYers can finish the job in a weekend or two with basic tools. And yes, you really can do this without being a pro woodworker.
Why go the DIY route? We researched this topic and found that building your own sofa can cost a fraction of what retailers charge, especially if you already own a drill and sewing machine. Plus, you get to pick the exact leather type, color, and size that fits your space. Sounds pretty good, right?
Here’s the quick version of what this guide covers:
- The tools and materials you’ll need before you start
- How to build a sturdy sofa frame that lasts
- How to add webbing, foam, and cushioning for comfort
- Cutting and stitching your leather panels the right way
- Final assembly tips to make it look store-bought (or better)
Below, we walk you through exactly how to build a leather sofa, step by step. Grab a coffee, and let’s get started.
Ready to roll up your sleeves? We found that the build breaks down into a handful of clear stages, and each one gets easier once you know what you’re doing. Let’s walk through them together.
Building a Leather Couch Yourself: Step by Step
The short answer: build the frame first, add support and padding, then cut, stitch, and stretch your leather over everything. Total cost for most builds runs between $300 and $800, depending on your leather choice. Here’s how each stage works.
Gather Your Tools and Materials
Before you cut a single board, get your shopping list sorted. Running to the hardware store mid-project kills momentum fast (trust us on this one).
Here’s your checklist:
- Pine or plywood boards for the frame (2x6s and 2x4s work well)
- Wood screws, wood glue, and corner brackets
- Jute or elastic webbing for seat support
- High-density foam (2 to 4 inches thick) plus batting
- Leather hides or upholstery-weight leather (about 50 to 60 square feet)
- Upholstery staples, a heavy-duty stapler, and a sewing machine that handles thick material
Many DIY guides suggest buying 10 to 15 percent extra leather for mistakes. We found that advice to be spot-on. Hides have natural scars and marks, and you’ll want room to cut around them.
Choose the Right Leather for Your Build
Not all leather behaves the same way. Some types stretch, some crack, and some cost more than your car payment. Here’s a quick comparison to help you pick.
| Leather Type | Best For | Price Range | Skill Needed |
|---|---|---|---|
| Top-grain | First-time builds | $$ | Beginner-friendly |
| Full-grain | Long-lasting, rugged look | $$$ | Moderate |
| Corrected-grain | Budget projects | $ | Beginner-friendly |
| Suede/rough-out | Accent pieces | $$ | Moderate |
Top-grain leather is our pick for beginners. It’s smooth, forgiving, and easier to sew than thick full-grain hides. Many upholstery forums recommend starting there before you tackle anything fancier.
Build the Sofa Frame
Your frame is the skeleton. Everything else sits on top of it, so this step deserves your full attention.
Measure and Cut Your Boards
A standard three-seat sofa runs about 84 inches wide and 36 inches deep. Sketch your design first, then cut your boards twice (measure twice, cut once — you know the drill). Use 2x6s for the seat base and 2x4s for arms and backrest supports.
Assemble the Structure
Screw and glue your joints together, then add corner brackets for extra strength. Many woodworking guides suggest adding a center support rail across the seat base. It stops sagging before it starts. Sit-test the frame when you’re done. If it creaks now, it’ll definitely creak later.
Add Webbing and Seat Support
Webbing is like the mattress under your cushions. Stretch jute or elastic webbing strips across the seat base in a woven pattern, and staple each end tightly. We found that weaving two layers at right angles gives the best bounce-back under weight.
Pull the webbing snug with pliers before you staple. Loose webbing equals a sofa that feels like a hammock. Not the vibe you’re going for.
Cut and Attach the Foam Cushioning
High-density foam makes the difference between a sofa and a park bench. Cut foam to fit your seat base and backrest, then wrap it in batting for a softer look. Spray adhesive holds everything in place while you work.
Many experts say foam density matters more than thickness (Cleveland Clinic notes that firmer seats can be easier on your lower back). A density of 1.8 or higher is a safe bet for daily use.
Prepare and Stitch Your Leather Panels
Now for the fun part — the skin of your sofa. Lay your hides flat and cut panels for the seat, backrest, arms, and front. Add an inch of seam allowance on every edge.
Use a leather needle and heavy-duty upholstery thread on your machine. Sew slowly. Leather holes are permanent, and there’s no ctrl+Z here. If your machine struggles, a cobbler’s walking foot attachment helps a lot.
Upholster the Frame
Time to dress your skeleton. Drape your leather panels over the frame, pull them taut, and staple from the center outward. Work in pairs if you can — one person stretches while the other staples. Tension matters more than speed here.
Hide your staples by folding leather edges under before stapling, especially on visible areas like arms and the front rail. Many upholsterers call this technique “clean finishing,” and it’s what separates homemade from handmade.
Final Assembly and Quality Checks
Attach your cushion covers, zip or sew them closed, and place them on the frame. Then give your whole build a once-over:
- Check every joint for looseness
- Sit on all cushions and test for even support
- Look for loose staples or raw leather edges
- Condition the leather with a quality conditioner (NIH-backed dermatology resources note that regular conditioning keeps skin — and leather — from drying and cracking)
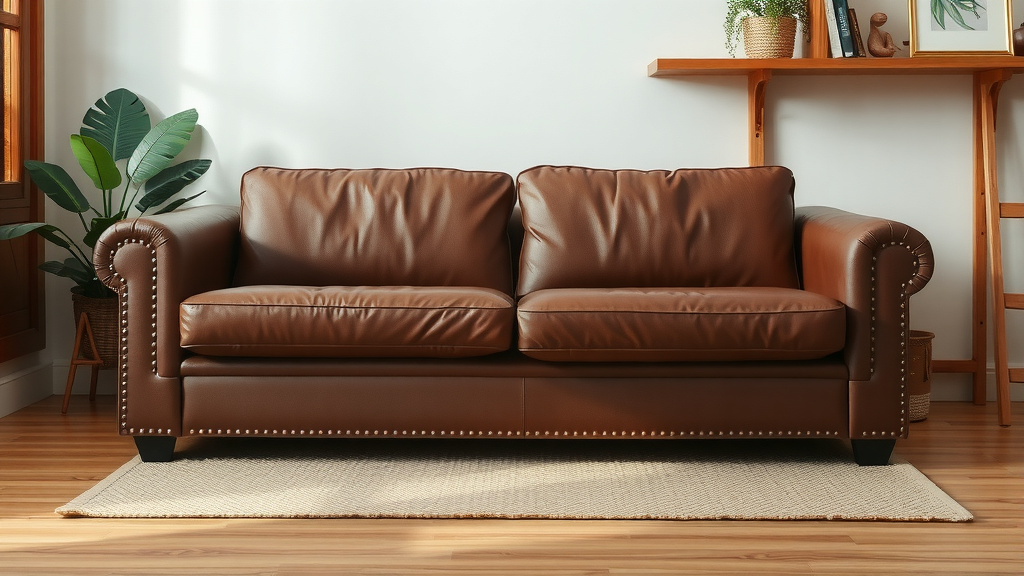
And there you have it. A sofa you built with your own two hands, one that’ll last for years if you treat the leather right. Pretty satisfying, isn’t it?
Conclusion
Building a leather sofa is one of those projects that sounds way harder than it actually is. You start with a simple frame, add webbing and foam, then stitch and stretch your leather over the top. Pick top-grain hides if it’s your first build, keep your webbing tight, and don’t rush the sewing. We found that patience — not pro-level skills — is what makes the finished piece look great. Expect a weekend or two of work and a sofa that outlasts most store-bought ones. Your next step? Sketch your design this week, order your leather with that extra 15 percent, and start cutting. Your future self (and your living room) will thank you.
Frequently Asked Questions
How long does it take to build a leather sofa from scratch?
Most first-time builders finish in one to two weekends. The frame goes together quickly, but cutting and stitching your leather panels takes the longest. Give yourself extra time if your sewing machine is new to leather.
Can I build a leather sofa without a sewing machine?
Yes, but it’s slower. You can hand-stitch panels using a saddle stitch with waxed thread and an awl. It’s actually stronger than machine stitching, just expect to spend several extra hours on it.
What’s the cheapest way to buy leather for a sofa build?
Check local upholstery suppliers, leather outlets, or online marketplaces for hides sold by the square foot. Some sellers offer “seconds” with minor scars at a big discount — those marks barely show on a sofa and save serious money.
How do I stop my DIY leather sofa cushions from sliding around?
Sew hook-and-loop strips or fabric ties onto the underside of each cushion cover. You can also add a thin strip of non-slip shelf liner between the cushion and the deck. Both tricks cost just a few dollars.
Does a handmade leather sofa last as long as a store-bought one?
It can last longer, honestly. Retail sofas often use thin particleboard frames and low-density foam to cut costs. When you build your own with solid wood and 1.8+ density foam, you control the quality of every part. Regular conditioning keeps the leather soft for decades. For real-world durability expectations, our leather sofa lifespan guide breaks down the numbers.